
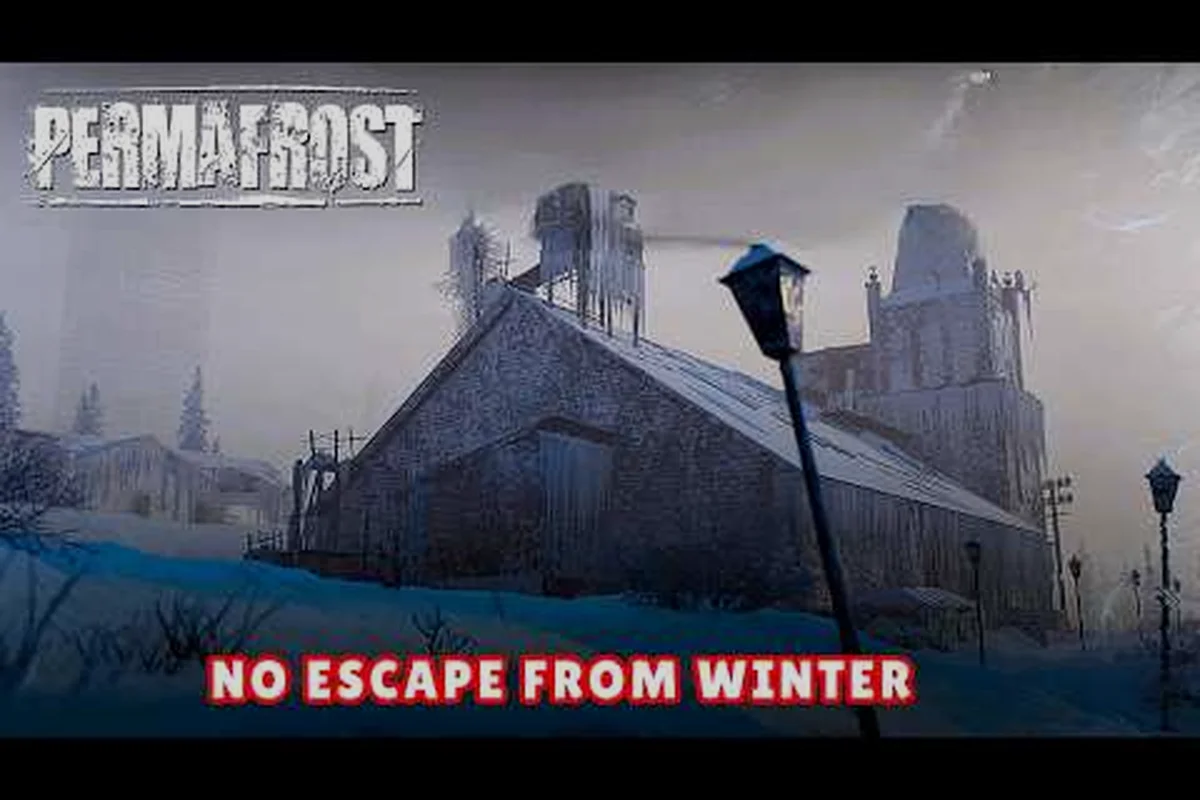
Managing permafrost body temperature is the single most important survival skill in this frozen open world, because the cold itself acts as a living enemy that drains your health even when no creature is nearby. Every journey outside a shelter becomes a race against frostbite, and your Rook's core warmth drops faster during storms, at night, or after getting wet. This guide breaks down exactly how warmth, hunger, and exhaustion interact so you can stop dying to the environment and start surviving the endless winter.
Understanding the Core Warmth System
Permafrost body temperature is not a simple on-off toggle. The game tracks your Rook's internal heat as a continuous value that shifts based on clothing, shelter, weather, and physical activity. According to the official Permafrost on Steam page, every expedition is shaped by the constant demands of frostbite, blizzards, and the slow, creeping cold, which means you need to treat cold as a resource you spend and recover rather than a status effect you simply cure.
The warmth system has three distinct zones that every player should memorize. The Safe Zone keeps your Rook stable with no health loss, while the Warning Zone triggers a visible shiver effect and slowly drains stamina. The Critical Zone is where frostbite begins, causing permanent health damage if you stay exposed too long. Community testing suggests that the transition between zones takes roughly two to three minutes in mild cold, but a blizzard can push you from safe to critical in under sixty seconds.
| Warmth Zone | Visual Indicator | Health Effect | Recovery Time |
|---|---|---|---|
| Safe Zone | No shiver, clear breath | No damage | Instant |
| Warning Zone | Light shiver, fogged breath | Stamina drain | 30-60 seconds by fire |
| Critical Zone | Heavy shiver, blue tint | Frostbite damage | 2+ minutes, needs shelter |
Clothing is your first and most reliable defense against dropping permafrost body temperature. Each piece of gear has a hidden Insulation Rating that reduces how quickly you lose heat, but the game does not display this number directly. Players report that layered clothing matters more than single heavy items, so wearing a patched jacket over a wool shirt outperforms one expensive coat. The crafting system lets you repair damaged insulation, and a torn sleeve can reduce warmth retention by nearly half.
Managing Warmth During Exploration
The hardest part of permafrost temperature management is balancing exploration distance against the cold. Because the map is vast and resources are scarce, you cannot simply sprint from one shelter to the next without planning. Your Rook generates a small amount of body heat while moving, which means standing still in the open is often more dangerous than walking through light snow.
Wind chill is the hidden killer that most new players ignore. The game calculates effective temperature based on both ambient cold and wind speed, so a calm -10°C day may feel warmer than a windy -5°C afternoon. When you see snow particles moving horizontally across the screen, you are losing heat at roughly double the normal rate. Ducking behind rocks, ruined walls, or dense trees breaks the wind and slows the drain significantly.
| Activity | Heat Change | Stamina Cost | Best Use Case |
|---|---|---|---|
| Standing still | Rapid loss | None | Avoid unless sheltered |
| Walking | Slow loss | Low | Short trips between shelters |
| Sprinting | Neutral or slight gain | High | Crossing open ground quickly |
| Crouching | Slower loss | None | Waiting out wind gusts |
| By a fire | Rapid gain | None | Recovery and cooking |
The fire-making guide covers the full process of building and maintaining heat sources, but the key interaction for warmth is simple: a lit fire creates a Heat Radius that overrides ambient cold. Standing within a few meters of a fire restores body temperature even during a blizzard, which makes fire the only reliable way to recover warmth away from permanent shelters. Carrying dry tinder and a fire-starting tool should be non-negotiable on any trip longer than a few minutes.
Hunger, Food, and the Cold Connection
Permafrost hunger guide principles are inseparable from warmth management because your body burns calories to generate heat. When your Rook is starving, the game applies a hidden multiplier that makes you lose body temperature faster, which creates a deadly spiral: cold makes you hungry, and hunger makes you colder. Breaking this cycle requires understanding which foods provide lasting energy versus quick warmth.
The cooking system transforms raw ingredients into meals with distinct Warmth Buffs and Satiety Values. Raw meat restores a small amount of hunger but provides no warmth benefit, while a cooked stew can raise your core temperature by a noticeable margin for several minutes. Players who rely on raw scavenged food often find themselves freezing despite having a full hunger bar, because the warmth gain from cooked meals is a separate mechanic from simple calorie intake.
| Food Type | Hunger Restored | Warmth Buff | Duration | Preparation |
|---|---|---|---|---|
| Raw meat | Low | None | Instant | None |
| Grilled meat | Medium | Small | 3 minutes | Fire required |
| Meat stew | High | Large | 8 minutes | Pot + fire |
| Scavenged cans | Medium | None | Instant | None |
| Hot tea | Low | Medium | 5 minutes | Boiled water |
The early game food guide explains where to find consistent ingredients during your first hours, but the core lesson is that cooking should be a daily ritual, not an emergency response. Preparing two or three hot meals before a long expedition gives you both the hunger buffer and the warmth buffs needed to survive extended exposure. A hot meal eaten right before leaving a shelter can add enough heat to buy you an extra five minutes of safe travel time.
Hunting Strategies That Keep You Fed and Warm
A solid permafrost hunting guide starts with understanding that animals are scarce and skittish in this frozen world. The official developer notes describe wildlife as rare and requiring traps or patient stalking, which means you cannot rely on running down prey like in other survival games. Every successful hunt requires planning, positioning, and often a trap that works while you stay warm by a fire.
The hunting bow is your most versatile tool because it allows silent kills from a distance without exposing yourself to the cold for long periods. Community reports indicate that headshots on smaller game like hares or foxes drop them instantly, while larger animals like deer require two or three well-placed arrows. Missing a shot spooks the animal and forces you to track it through deep snow, which wastes both time and body heat.
| Hunting Method | Best Target | Heat Exposure | Success Rate | Skill Required |
|---|---|---|---|---|
| Bow stalking | Deer, foxes | Medium | Moderate | Patience, aim |
| Snares and traps | Hares, birds | Low | High over time | Trap placement |
| Spear ambush | Wolves | High | Low | Timing, courage |
| Thrown rocks | Birds | Low | Very low | Distraction only |
Setting traps is the most heat-efficient way to secure food because the trap works while you wait inside a shelter or by a fire. Place snares along visible animal paths in the snow, then check them every few hours rather than camping nearby. Players report that trap lines set near water sources or berry bushes catch significantly more game, likely because animals congregate at these limited resource points. A single well-placed trap line can feed you for days with almost no body temperature cost.
Advanced Temperature Management Tactics
Once you understand the basics, permafrost temperature management becomes a game of efficiency and risk calculation. Experienced players plan their routes around known heat sources, treat every outdoor minute as a resource, and never leave a shelter without a specific destination in mind. The difference between a survivor and a corpse is often just thirty seconds of exposure that could have been avoided with better planning.
Layering your heat sources creates a safety net that prevents catastrophic loss. A Hot Meal Buff combined with Full Clothing and a Pocket Fire Kit means you can survive a sudden blizzard that would kill an unprepared player in minutes. The crafting system lets you build portable heat sources like hand warmers, though these are expensive and should be saved for emergencies rather than routine travel.
| Heat Layer | Duration | Portability | Cost | Emergency Value |
|---|---|---|---|---|
| Clothing | Permanent | Always on | Crafting materials | Essential |
| Hot meal buff | 5-8 minutes | Consumed | Food ingredients | High |
| Hand warmer | 10 minutes | Pocket item | Rare materials | Critical |
| Fire kit | Until fuel runs out | Backpack | Tinder + wood | Life-saving |
| Shelter | Permanent | Fixed location | Building materials | Base requirement |
The crafting guide details how to build the tools and clothing that make temperature management easier, but the strategic lesson is that you should always have at least two independent heat sources active before venturing into unknown territory. If one fails, the other buys you time to retreat. Your canine companion can also help by alerting you to incoming storms, giving you precious seconds to find shelter before the temperature plummets.
Frequently Asked Questions
How do I stop dying of cold in Permafrost?
The fastest way to avoid cold deaths is to never travel without a fire kit and at least one hot meal. Build small fires at regular intervals during long trips, and always know the location of the nearest shelter before leaving your current one. Clothing insulation matters more than most players realize.
What is the best food for staying warm?
Meat stew is the best warmth food because it provides both a large hunger restore and an eight-minute warmth buff. Hot tea works well as a lightweight alternative when you need quick heat without carrying heavy ingredients. Always cook before expeditions rather than relying on raw scavenged food.
Can I recover from frostbite?
Yes, but frostbite damage is slow to heal and requires extended time in a warm shelter with a fire. The Critical Zone warning appears before permanent damage sets in, so retreat immediately when you see the blue tint effect. Prevention through layered clothing and planned fire stops is far more reliable than recovery.
How does hunger affect my body temperature?
Hunger applies a hidden multiplier that accelerates heat loss, which means a starving Rook freezes noticeably faster than a well-fed one. This creates a dangerous spiral where cold increases hunger and hunger increases cold. Eating regular cooked meals breaks the cycle and keeps your warmth drain at its normal rate.
Where should I build my first shelter for warmth?
Build your first shelter near a water source and a natural windbreak like a cliff face or dense tree line. The windbreak reduces ambient cold exposure, while water gives you access to boiled drinks that provide warmth buffs. Avoid open plains where wind chill is strongest and heat loss is fastest.