
Items & Gear
Permafrost gear and items tier list: cold-weather clothing layers, tools and weapons, inventory and weight — what to wear before you leave camp.
Introduction
The Items and Gear category is your loadout bible for Permafrost. Clothing sets your survivable temperature range, tools decide what you can gather and repair, and weapons determine what you can hunt and defend against - so choosing the right gear is the difference between a comfortable expedition and a frozen disaster. This category ranks the cold-weather clothing layers, tools and weapons by tier, explains how insulation and cold resistance stack, and gives practical advice on inventory, weight, backpacks and repair. You will find the exact items worth crafting first, the gear thresholds for cold zones, and honest community tier placement that adapts as Early Access patches shift the balance.
Gear Tier Quick Reference
| Tier | Example | Best For |
|---|---|---|
| S | Winter Jacket, Insulated Boots | Large cold zones and harsh expeditions |
| A | Bow and Arrows, Wool Hat | Most regions and reliable hunting |
| B | Stone Axe, Work Gloves | Starting areas and short trips |
| C | Shiv, improvised gear | Emergency use only, fragile in cold |
Gear Roster
Winter Jacket
The cold-zone essential that raises your whole kit
Insulated Boots
Feet-first cold protection for long walks in deep snow
Bow and Arrows
The ranged backbone of early hunting and defense
Stone Axe
The humble first tool everyone underestimates
Wool Hat
Cheap cold resistance that upgrades fast from salvaged materials
Core Mechanics
Gear in Permafrost follows a simple but important logic: insulation sets your survivable temperature range, and each piece of clothing stacks with the others. The more total cold resistance you have, the farther you can safely travel and the longer you can work outside before body temperature drops. Tools work on a durability system - every gather, swing and repair drains them - and you keep them working by repairing at a station with the right materials. Weapons add a combat layer: the shiv is silent but melee, the bow is the reliable early ranged option, and better cold gear unlocks the ability to reach zones where better loot hangs out. Inventory and weight cap how much you can carry, which forces real choices between loot, food, fuel and repairs on every trip.
Advantages
Knowing the gear system removes the guesswork that kills early survivors. The tier lists here tell you exactly which items to craft first and what to wear before stepping into a cold zone, saving you the trial-and-error of dying to frostbite with the wrong kit. Understanding insulation stacking helps you get the most value from each piece of clothing you find or craft, so you are never wasting materials on gear that does not move the needle. Repair knowledge keeps your tools alive far longer, and inventory guidance stops you from hauling useless weight into a storm. A player who masters gear progression reaches cold-zone content and the best loot with dramatically more confidence.
Challenges
Early Access means gear numbers are still moving. Exact insulation values, durability costs and tier placements are community estimates at launch and can shift with any balance patch, so respect them as starting points rather than scripture. The full item list is still being catalogued - a few niche tools and clothing variants may be undocumented this early, and some tier positions are opinion rather than hard fact. Finally, gear is not a substitute for planning: the best winter jacket cannot save you from a night spent wandering in a blizzard, so pair good loadouts with good expedition habits.
Frequently Asked Questions
What gear do I need before entering a cold zone?+
How does clothing insulation stack?+
Should I repair gear or craft new gear?+
How do I increase inventory space?+
Quick Tips
Stack clothing layers before you judge your cold readiness - a hat, gloves, jacket and boots together give far more protection than any single garment. Check the total cold resistance number before entering a cold zone, and treat that number as the real gear gate, not the item names. Upgrade the weakest layer first, because the chest and feet carry the most insulation weight, and keep a spare set of emergency clothing at your home base.
Repair tools before they break: keeping a small bank of wood, stone, scrap and cloth at your base makes fixing a snapped axe a five-minute task instead of a failed expedition. Durability is the quiet tax of every gathering session, so pay it early and often. Check tool condition before every long trip, repair anything below half, and carry one replacement tool for the item you rely on most when heading into deep zones.
Use the dog companion pack and storage boxes to sidestep the real cost of inventory: weight. Carry less unnecessary load, drop loot at outposts as you travel and let the dog haul the heavy stuff, so every expedition returns with more value and less frozen exhaustion. Prioritize high-value, low-weight items for the return trip, and bank materials at the nearest storage box instead of carrying them across two zones.
Featured
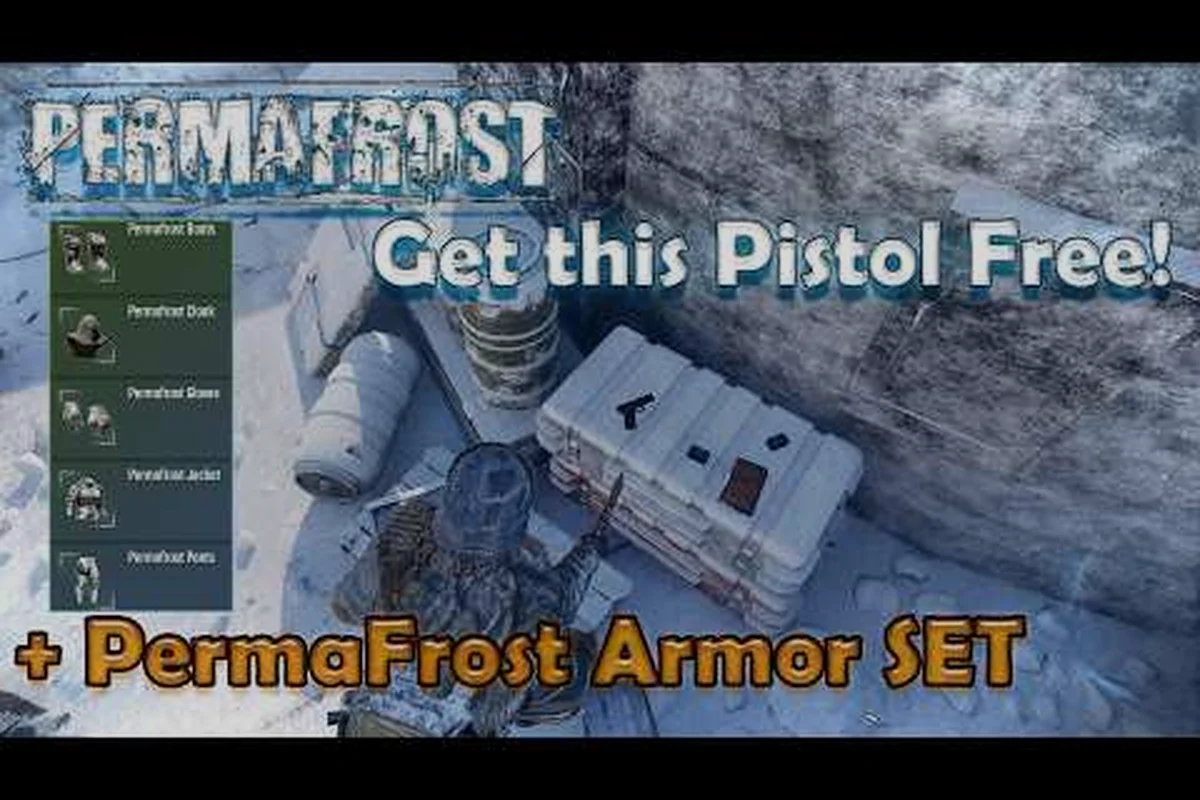
Permafrost Best Gear: Item Tiers and Equipment Slots
Find the permafrost best gear with a full item list, rare item tiers, and equipment slot breakdown so you know exactly what to loot and wear next.
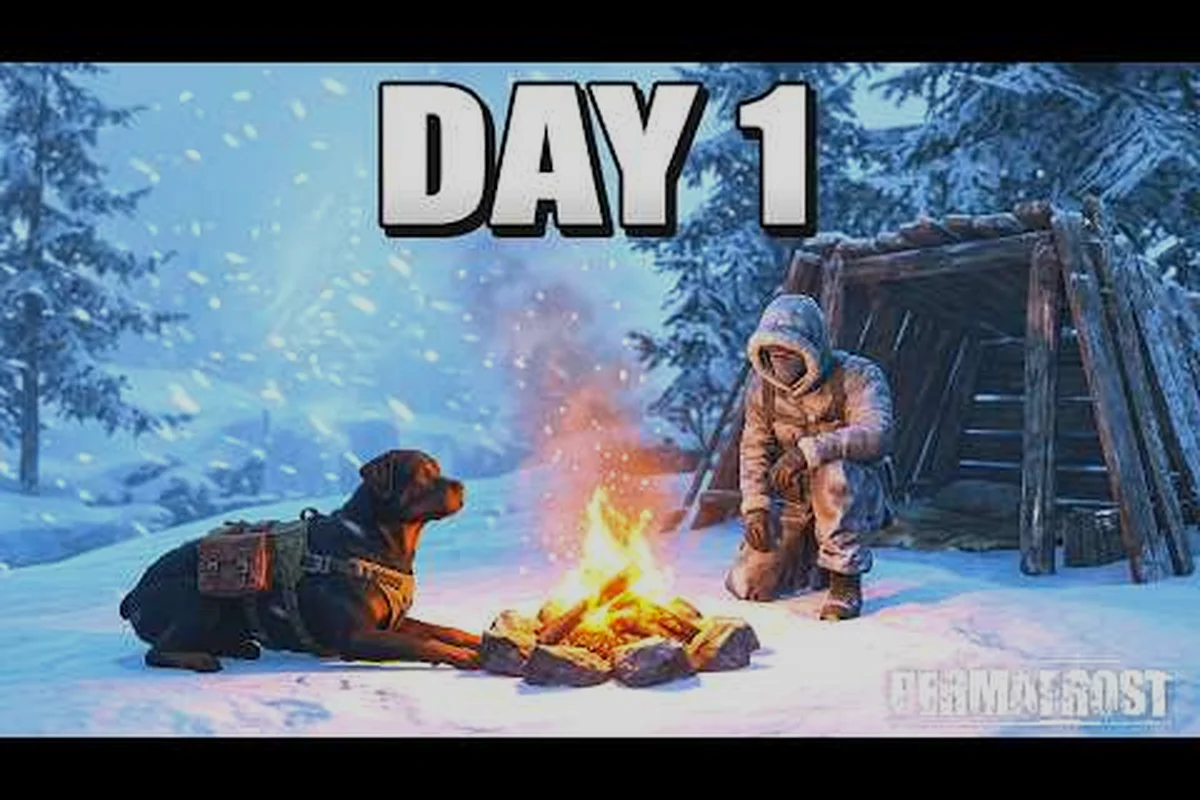
Permafrost Insulation: Boots, Hats, and Gloves Guide
Understand permafrost insulation values across boots, hats, and gloves, plus backpack inventory tricks so every gear slot keeps your Rook warm and hauling more loot.

Permafrost Weapons Guide: Best Gear and Warm Clothing
Use this permafrost weapons guide to compare the best weapons, gear, and cold weather clothing so your Rook survives the endless winter.
All Articles
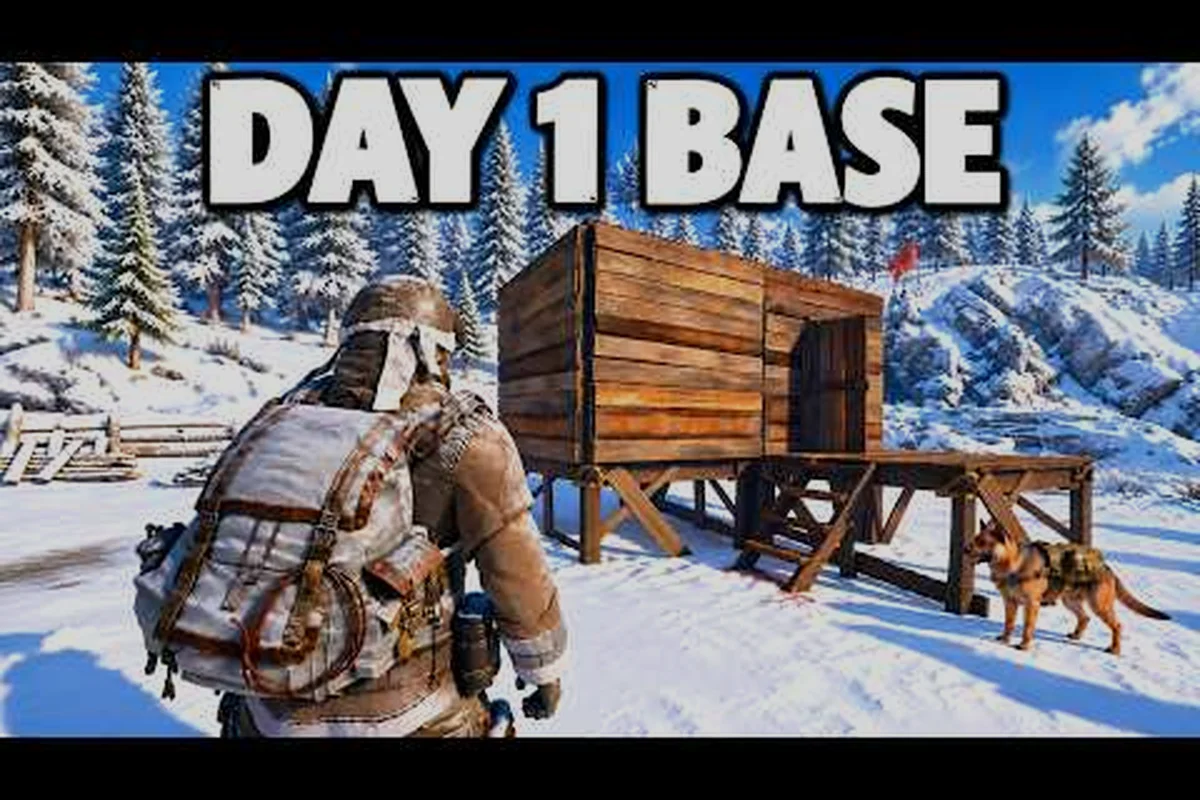
Permafrost Carrying Capacity: Increase Weight Limit
Master permafrost carrying capacity, raise your weight limit, and learn how bows, melee weapons, and stone tools affect how much loot your Rook can haul.
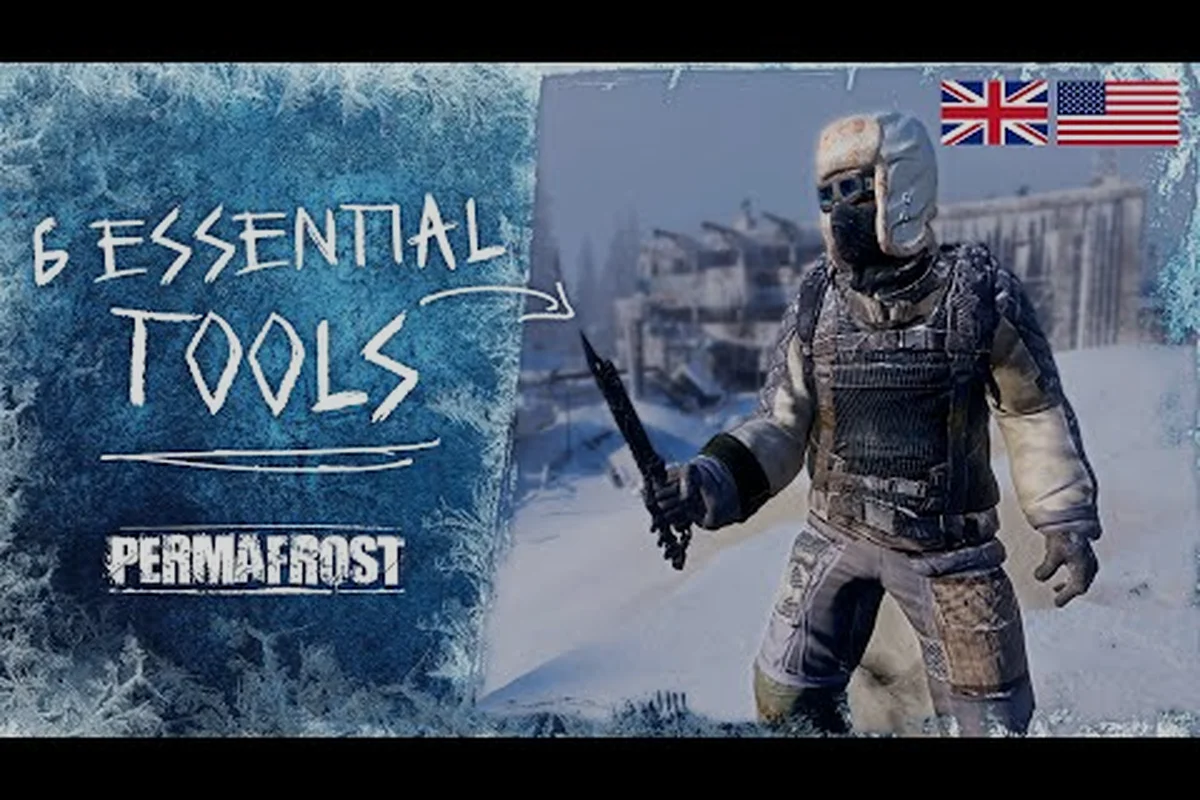
Permafrost Equipment Repair: Fix Broken Gear Fast
Learn permafrost equipment repair to fix broken gear, find upgrade materials, and progress from looted scraps to reliable weapons in the frozen wilds.
Permafrost Improvised Weapons: Winter Jacket and Layers
Craft permafrost improvised weapons and layer up with the best winter jacket and clothing combos so your cold armor keeps you fighting through blizzards.
Permafrost Tools and Weapons List: Stats and Clothing
Browse the full permafrost tools and weapons list with clothing stats, gear slots, and cold-weather outfit combos so your Rook survives the endless winter.