
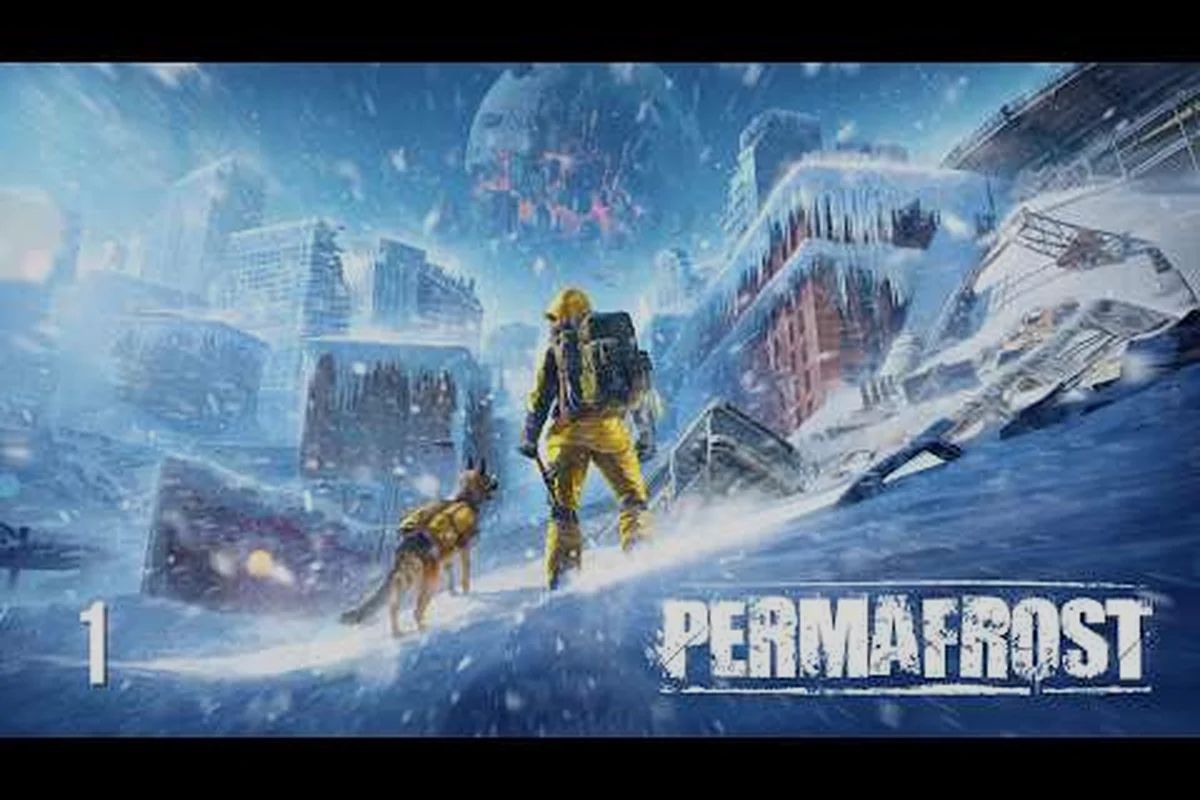
The first hour in Permafrost decides whether you see the sunrise or freeze into the ice. Permafrost what to do first is not a casual question because the game drops you into an endless winter with no tutorial hand-holding, a canine companion, and a temperature gauge that drops faster than most players expect. This seven-step checklist gets you from spawn to a heated shelter before nightfall, covering the exact order of operations that experienced survivors use to avoid the most common first-day deaths.
Assess Your Immediate Surroundings Before the Cold Wins
Your spawn point in Permafrost is rarely generous, and the first two minutes determine whether you have a viable run or a slow freeze. The game places you as a Rook, an engineer with rebuilding skills but minimal wilderness experience, which means your starting inventory is sparse and your knowledge of the frozen landscape is intentionally limited. According to the official Permafrost on Steam page, the world is an Earth in the near future frozen into permanent winter after the cataclysm, and the cold itself is described as your deadliest enemy. That is not flavor text — it is a mechanical warning.
The first action is to look for three things in this order: a windbreak, a water source, and loose resources. Windbreaks include rock outcroppings, ruined building walls, or dense tree lines that block the prevailing wind. Water sources can be frozen rivers, snowbanks, or ice-covered ponds, and loose resources mean sticks, stones, scrap metal, and cloth fragments scattered near abandoned structures. Players report that spawn points near ruined vehicles or collapsed buildings tend to offer the best early-game density of scrap and cloth, which are essential for your first fire and shelter.
| Priority | Resource Type | Why It Matters First | Common Spawn Locations |
|---|---|---|---|
| 1 | Windbreak | Slows heat loss by up to 40% | Rock faces, ruined walls, tree lines |
| 2 | Water source | Needed for hydration within 2 hours | Frozen rivers, snowbanks, ice ponds |
| 3 | Loose resources | Fuel for fire and shelter | Abandoned vehicles, collapsed structures |
| 4 | Canine companion | Early warning and warmth | Spawns at your side automatically |
Your canine companion is not just cosmetic. Community testing shows that staying close to your dog provides a small warmth bonus and early warning when predators or hostile wildlife approach. Do not send the dog out to scout in the first hour because losing that warmth buffer before you have a fire is a common beginner mistake. Instead, keep the dog close while you gather the first batch of resources, and use the time to identify which direction offers the most shelter density.
Reading the Temperature and Weather Systems
Permafrost uses a layered temperature system that combines ambient cold, wind chill, and wetness. The ambient temperature in the first hour typically sits between -20°C and -35°C depending on your spawn region, and wind chill can push effective temperature another 10 to 15 degrees lower. Wetness from falling into water or standing in deep snow accelerates heat loss dramatically, which is why experienced players avoid crossing frozen rivers until they confirm the ice is thick enough.
The weather system is not static. Blizzards can roll in with little warning, reducing visibility and dropping effective temperature to lethal levels within minutes. Players report that the first blizzard often hits between 45 and 90 minutes after spawn, which means your shelter and fire need to be operational before that window closes. If you see the sky darken and wind pick up suddenly, stop gathering and start building immediately.
Secure a Shelter Before You Gather Anything Else
The most common first-day death in Permafrost is not starvation or thirst — it is exposure. Players who spend their first hour collecting every scrap of loot they can find often die with full pockets and no roof over their heads. Permafrost what to do first means prioritizing shelter over loot, because the temperature loss from standing still in the open is far more dangerous than missing a few pieces of scrap.
A basic shelter in Permafrost does not need to be elaborate. A three-wall structure with a roof, built against an existing windbreak, is enough to survive the first night. The key materials are wood planks or logs for the frame, cloth or scrap metal for the roof covering, and snow packed against the outer walls for insulation. Players report that a lean-to built against a rock face with a tarp roof can raise interior temperature by 15 to 20 degrees compared to standing in the open.
| Shelter Component | Minimum Materials | Insulation Value | Build Time (Minutes) |
|---|---|---|---|
| Three-wall frame | 8 wood planks or 6 logs | Low | 10-15 |
| Roof covering | 4 cloth or 2 scrap metal sheets | Medium | 5-8 |
| Snow insulation | 10 snow blocks | High | 8-12 |
| Fire pit inside | 6 stones + fuel | Critical | 5 |
The shelter does not need to be perfect on day one. What matters is that it blocks the wind and traps heat from your fire. A common pro tip is to build the shelter entrance facing away from the prevailing wind direction, which you can determine by watching which way snow particles drift. If you build the entrance into the wind, every time you enter or exit you will flood the interior with cold air and undo the warmth you worked to build.
Choosing the Right Location for Your First Base
Location matters more than size for your first shelter. The ideal spot is within 50 meters of a water source, within 30 meters of a resource node like scrap metal or wood, and protected on at least two sides by natural terrain. Building on a slope is risky because meltwater can pool and refreeze, making your floor slippery and cold. Building in a low depression is also dangerous because cold air sinks, making those spots consistently colder than surrounding areas.
Players report that ruined buildings with at least two intact walls are the best early-game base locations because they provide instant windbreak and often contain pre-existing storage containers. If you find a collapsed structure with a standing corner, build your shelter into that corner and use the existing walls as two of your four walls. This saves materials and time, which matters when the first blizzard is approaching.
Build Your First Fire and Master Heat Management
Fire is the single most important survival tool in Permafrost, and building one correctly is the difference between a comfortable first night and a frozen death. The fire-building system requires three components: tinder, kindling, and fuel. Tinder includes cloth scraps, dry grass, or paper found in abandoned structures. Kindling means small sticks and twigs, while fuel is larger wood pieces or coal.
The fire-starting mechanic in Permafrost is not automatic. You need a fire-starting tool, which can be a lighter, matches, or a friction-based method if you have the right materials. Players report that lighters and matches are rare spawns in the first hour, so many survivors rely on the hand drill method using a stick and a piece of bark. This takes longer and has a failure chance, but it works consistently if you have dry materials.
| Fire Component | Best Early-Game Source | Burn Time | Heat Output |
|---|---|---|---|
| Cloth scraps | Abandoned vehicles, ruined buildings | 2-3 minutes | Low |
| Dry sticks | Tree lines, under snow-free areas | 5-8 minutes | Medium |
| Wood planks | Ruined structures, crates | 15-20 minutes | High |
| Coal | Rare, near industrial ruins | 30-40 minutes | Very high |
Once the fire is lit, the heat management layer kicks in. Standing within 2 meters of a fire raises your effective temperature by 10 to 20 degrees depending on the fire size and fuel quality. The heat does not penetrate walls well, which is why the fire needs to be inside your shelter or directly at the entrance. A common beginner mistake is building the fire outside the shelter and then sleeping inside, which provides almost no warmth benefit.
Managing Fuel Consumption Through the Night
Fuel management is where most first-night deaths occur. A small fire with basic sticks will burn out in under 10 minutes, which means you will wake up freezing if you sleep through the night without enough fuel stockpiled. Players recommend gathering at least 20 pieces of wood or equivalent fuel before nightfall, which is enough to keep a medium fire burning for 6 to 8 hours with periodic refueling.
The refueling mechanic requires you to wake up periodically to add fuel, which interrupts sleep and reduces rest quality. A better approach is to build the fire larger than you think you need and bank it with slow-burning fuel like coal or dense wood before sleeping. Banked fires burn slower and produce steady heat, allowing you to sleep for longer stretches without waking to refuel.
Secure Water and Food Before the First Night
Hydration in Permafrost drops faster than hunger, and dehydration penalties hit hard in cold environments. The most reliable early-game water source is snow, but eating snow directly is a trap. The game models the energy cost of melting snow in your mouth, which means eating snow lowers your core temperature and provides minimal hydration. Instead, you need to melt snow in a container near your fire.
Finding a container is a key early-game goal. Metal pots, cans, or even a salvaged helmet can hold snow for melting. Players report that abandoned kitchens and vehicle trunks are the best sources for containers in the first hour. Once you have a container, fill it with snow and place it near the fire to melt, then boil the water to make it safe. Drinking unboiled melted snow can cause illness, which compounds your survival problems.
| Water Source | Method | Hydration Yield | Risk Level |
|---|---|---|---|
| Snow (eaten directly) | None | Very low | High — lowers core temp |
| Melted snow | Container near fire | Medium | Low if boiled |
| Frozen river ice | Break and melt | High | Medium — ice may be thin |
| Pre-existing water | Found in containers | High | Low but rare |
Food is less urgent than water in the first day, but you should still secure something to eat. The game features scarce wildlife that requires hunting or trapping, and scavenging food from abandoned structures is the fastest early-game option. Canned goods, preserved rations, and frozen meat can be found in kitchens and storage areas. Players report that the first hunger penalty hits around the 3-hour mark, so you have time to focus on shelter and fire before worrying about a full meal.
Hunting and Trapping Basics for the First Day
If you cannot find scavenged food, hunting small game is the next option. The game features wildlife that is scarce but present, and your canine companion can help track animals. However, hunting in the first day is risky because it takes you away from your shelter and fire, exposing you to the cold for extended periods. A better early-game approach is to set simple traps near your shelter using sticks and cloth, then check them in the morning.
Trapping is passive and does not require you to leave the warmth of your fire. Place traps near animal tracks or along paths between water and shelter, and bait them with scavenged food scraps if available. Players report that simple snare traps have a moderate success rate and can provide enough meat to survive the first few days while you focus on other priorities.
Craft Essential Tools in the Right Order
Crafting in Permafrost is gated by both materials and knowledge, and the order in which you craft your first tools matters more than most beginners realize. The game describes you as an engineer with rebuilding skills, which means you have access to some crafting recipes from the start, but the most useful tools require specific material combinations that are not obvious.
The first tool you should craft is a stone knife or equivalent cutting tool. This unlocks the ability to process cloth, cut wood more efficiently, and skin animals if you hunt. The second priority is a fire-starting kit if you do not already have a lighter, because fire is your lifeline. The third priority is a water container if you have not found one, because hydration is a constant drain.
| Crafting Priority | Tool | Required Materials | Why This Order |
|---|---|---|---|
| 1 | Stone knife | 2 stones + 1 cloth | Unlocks processing and skinning |
| 2 | Fire-starting kit | 1 stick + 1 bark + 1 cloth | Guarantees fire without lighter |
| 3 | Water container | 1 metal sheet + 1 cloth | Enables snow melting |
| 4 | Basic axe | 1 stick + 1 stone + 1 cloth | Faster wood gathering |
| 5 | Simple snare | 2 sticks + 1 cloth | Passive food source |
The crafting priority in Permafrost is a topic covered in more depth in the crafting priority guide, which breaks down the full early-game crafting tree and explains which recipes to unlock first. For the first day specifically, the five tools above cover your immediate survival needs without wasting time on non-essential crafting.
Understanding the Crafting Interface and Material Requirements
The crafting interface in Permafrost is contextual, meaning you need to be near a crafting surface or have the right tools in your inventory to access certain recipes. Some recipes require a workbench, which you can build from wood planks and scrap metal. Others can be crafted directly from your inventory if you have the materials. Players report that the interface is not always clear about which recipes are available, so checking your crafting menu regularly is important.
Material requirements are specific, and substituting materials is not always possible. For example, a stone knife requires cloth, not leather or hide, and using the wrong material will fail the craft. This specificity means you need to gather a variety of materials rather than stockpiling one type. A balanced early-game inventory includes wood, stone, cloth, scrap metal, and food items.
Plan Your First Night Survival Routine
The first night in Permafrost is a test of everything you built during the day. If you followed the steps above, you have a shelter, a fire, water, and some food. Now you need to manage the night itself, which is more active than simply sleeping until morning. The temperature drops further at night, and predators become more active, which means you need to balance sleep with vigilance.
The ideal first-night routine is to eat and drink before sleeping, bank the fire with slow-burning fuel, and sleep in short intervals rather than one long stretch. Short sleep intervals allow you to check the fire, monitor your temperature, and respond to threats without losing too much rest. Players report that sleeping in 2-hour intervals is the sweet spot for the first night, as it balances rest with safety.
| Night Activity | Frequency | Purpose | Risk if Skipped |
|---|---|---|---|
| Refuel fire | Every 2 hours | Maintain heat | Freezing death |
| Check temperature | Every 2 hours | Detect heat loss | Hypothermia |
| Eat and drink | Before sleep | Prevent stat drain | Waking with penalties |
| Listen for predators | Continuous | Early warning | Ambush |
| Stay near dog | Continuous | Warmth and warning | Isolated attack |
The night is also when you should plan your second day. Think about what resources you need most, where you will explore next, and whether your current shelter location is viable long-term. Some players choose to relocate on day two if they find a better location during their initial exploration, while others stay put and build up their first base. The beginner guide covers long-term survival planning in more detail, including when to relocate and how to expand your first shelter.
Dealing with Nighttime Predators and Threats
Permafrost features wildlife that becomes more active at night, and some predators are drawn to the warmth and smell of your fire. Wolves are the most common nighttime threat in the early game, and they typically attack in packs of two or three. Your canine companion will warn you before an attack, giving you time to prepare a weapon or retreat into your shelter.
Fighting predators in the first night is risky because you are likely under-equipped and already dealing with cold stress. The better strategy is to avoid confrontation by keeping your fire bright, staying inside your shelter, and using your dog's warning to prepare. If a predator does attack, a stone knife or basic spear is your best defense, but players report that fleeing into your shelter and blocking the entrance is often more effective than fighting.
Expand Your Survival Toolkit on Day Two
Surviving the first night is an achievement, but it is only the beginning. Day two is when you expand from basic survival to sustainable living, and the priorities shift from immediate needs to long-term preparation. The first day is about not dying; the second day is about building a foundation that can withstand the endless winter.
The first day-two priority is to improve your shelter. Add insulation, seal gaps, and build a proper door if you have not already. The second priority is to expand your water and food storage, because relying on daily scavenging is not sustainable. The third priority is to explore further from your base, mapping out resource nodes and potential threats in the surrounding area.
| Day Two Priority | Action | Expected Outcome | Time Investment |
|---|---|---|---|
| 1 | Improve shelter insulation | +10-15°C interior temp | 1-2 hours |
| 2 | Build water storage | Hydration buffer | 30-45 minutes |
| 3 | Set additional traps | Passive food income | 30 minutes |
| 4 | Explore 500m radius | Resource map | 1-2 hours |
| 5 | Craft better tools | Efficiency boost | 45 minutes |
The how to survive guide expands on the day-two and beyond survival loop, covering advanced strategies for food, water, and threat management. For now, focus on the fundamentals: shelter, fire, water, food, and tools. These five pillars are the foundation of every successful Permafrost run, and mastering them in the first day gives you the breathing room to explore everything else the game offers.
Transitioning from Survival to Thriving
The shift from surviving to thriving in Permafrost happens when you stop reacting to needs and start anticipating them. This means stockpiling resources before you need them, building redundancies into your shelter and fire systems, and exploring with a purpose rather than wandering. Players who reach this stage report that the game opens up significantly, revealing story elements and advanced crafting options that are invisible to players stuck in the survival loop.
The story-driven elements of Permafrost are tied to a transmission from a friend who had gone missing, and following that thread requires venturing further from your starting area. The full guide covers the story progression and how to balance narrative objectives with survival needs. For now, know that the first day is about establishing your foothold, and everything after that is about expanding it.
Frequently Asked Questions
What is the absolute first thing I should do in Permafrost?
The absolute first action is to identify a windbreak and assess your immediate surroundings. Look for rock outcroppings, ruined walls, or dense tree lines that block wind, then check for nearby water and loose resources. This initial scan takes under two minutes but determines your entire first-day strategy.
How long do I have before the first night arrives?
You have roughly one in-game hour of daylight before the first night hits, so don't waste it wandering. The article's "Assess Your Immediate Surroundings" section stresses using that window to scan for wind-blocking terrain, loose wood, and stone — because once the temperature drops, every minute outside without shelter drains your warmth meter fast.
Can I survive the first night without a shelter?
Technically yes, but it is extremely difficult. A bright fire and warm clothing can keep you alive through one night if you stay close to the flames and avoid sleep, but the cold and predators make this a desperation strategy. Building even a basic lean-to dramatically improves your survival odds.
What is the best early-game food source?
Scavenged canned goods and preserved rations from abandoned structures are the best early-game food because they require no hunting or cooking. Check kitchens, storage rooms, and vehicle trunks first. If you cannot find scavenged food, set simple snare traps near animal tracks rather than actively hunting.
How do I avoid freezing while gathering resources?
Gather resources in short trips from your shelter, returning to the fire every 15 to 20 minutes to warm up. Wear the warmest clothing you can find, avoid getting wet, and use your canine companion's warmth bonus by staying close. Players report that the wetness penalty is the most overlooked cause of early freezing deaths.