
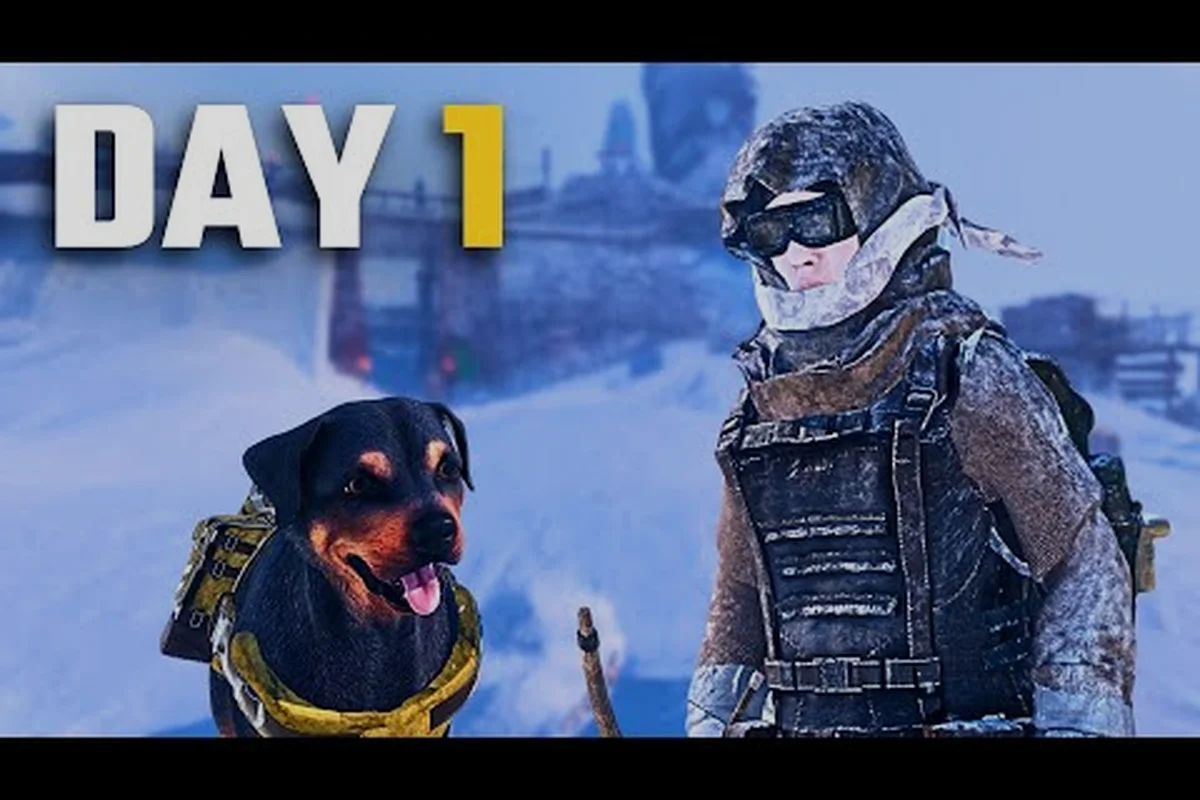
Your dog in Permafrost is not a cosmetic pet. The permafrost dog scout is a working companion that detects threats before you see them, carries critical supplies, and can die if you ignore its condition. Understanding how scouting, health, and feeding interact is the difference between surviving a blizzard and watching your only ally collapse in the snow. This guide breaks down the mechanics that keep your scout alive and effective.
Scouting Mechanics and Threat Detection
The core value of the permafrost dog scout comes from its early-warning behavior. When you move through the frozen world, the dog runs ahead and reacts to environmental hazards, hostile wildlife, and unstable terrain before those threats reach you. According to the official Permafrost Steam page, the rescued dog scouts ahead, warns of danger, and carries supplies, which means the companion is designed as an active survival tool rather than a passive follower.
The warning system works through distinct behavioral cues. A sudden stop with ears forward usually indicates a predator nearby, while a low growl or backing up signals an environmental hazard such as thin ice or a collapsing snow shelf. Because the dog's senses operate independently of your own visibility, you can use these signals to avoid ambushes during whiteout conditions or when navigating unfamiliar ruins. Players report that the scout's detection range extends well beyond your character's visual range, especially at night.
Reading Scout Behavior in Different Zones
Different regions trigger different scout responses, and learning these patterns prevents unnecessary damage. In open tundra, the dog tends to circle wide and check wind direction before returning to your side. In dense ruins or collapsed structures, it stays closer and uses short, repeated barks to mark specific danger points. The table below summarizes common behaviors and what they indicate.
| Scout Behavior | Likely Threat | Recommended Response |
|---|---|---|
| Sudden stop, ears forward | Predator ahead | Crouch, draw weapon, scan ridge lines |
| Low growl, backing up | Thin ice or unstable ground | Change route, test footing with probe |
| Short repeated barks | Multiple threats or trapped area | Retreat to last safe position |
| Circling wide, nose down | Recent wildlife tracks | Follow slowly, prepare for encounter |
| Whining at your pack | Dog is hungry or injured | Check health and food status immediately |
These behaviors are consistent across the early access build as of October 2026, though community testing suggests that exact trigger distances may shift with future patches. The important takeaway is that ignoring a scout warning usually leads to direct damage to either you or the dog.
Using Scout Range to Cover More Ground
The permafrost dog scout works best when you give it room to operate. If you keep the dog at heel constantly, you lose most of the early-warning benefit because the detection radius shrinks to your immediate surroundings. Letting the dog range ahead by 15 to 30 meters creates a buffer zone that gives you time to react. However, in blizzard conditions, you should call the dog back to a shorter leash because separation becomes a real risk.
The companion mechanics tie directly into your broader survival loop. While the dog is scouting, it also marks resource caches and dropped loot, which connects to the companion utility covered in the dog customization guide. Managing that balance between scouting range and safety is a core skill for long expeditions.
Permafrost Dog Dangers and Mortality
The most common question from new players is whether the dog can actually die. The answer is yes. Permafrost dog dangers are real and include predator attacks, falls, exposure, starvation, and environmental hazards. The dog has its own health pool separate from yours, and if that pool reaches zero, the companion dies permanently in most survival modes. There is no automatic respawn for the dog unless you reload an earlier save.
The mortality system means you must treat the scout as a finite resource. Predators such as wolves and bears will target the dog if it gets too close, especially when the dog is scouting ahead and separates from your defensive position. Falls from cliffs or through weak ice can also kill the dog instantly, which is why the warning behaviors around unstable terrain are so critical to monitor.
Threat Priority and Damage Sources
Not all dangers deal the same amount of damage, and the difference between a recoverable scare and a permanent loss often comes down to how quickly the damage registers. The table below ranks common threats by severity based on community reports and early access testing. Direct physical attacks from bears and wolf packs can down the dog in seconds, while environmental hazards like thin ice and cliff falls frequently bypass the health system entirely and trigger instant death. In contrast, starvation and exposure drain condition gradually, giving you a visible window to feed the dog or lead it to shelter before the bar empties. This split between instant-kill threats and slow condition drain shapes every scouting decision: a dog at full health can still die in one misstep near a frozen lake, but a starving dog limping at low condition can often be saved if you notice the whining and slowed movement in time.
| Danger Source | Damage Type | Lethality | Prevention |
|---|---|---|---|
| Bear attack | Direct physical | Very high | Recall dog before engaging large predators |
| Wolf pack ambush | Direct physical | High | Keep dog at heel in known wolf territory |
| Thin ice fall | Environmental | High | Heed growl warnings, avoid frozen lakes |
| Cliff fall | Environmental | Very high | Keep dog close near ledges and ruins |
| Starvation | Gradual condition drain | Moderate | Feed regularly, monitor food status |
| Exposure | Gradual condition drain | Moderate | Provide shelter or warmth during storms |
The key insight is that environmental deaths are often instant, while condition-based deaths from starvation or exposure give you time to react. Because the dog cannot communicate its exact health number, you need to watch for visual and audio cues: limping, whining, slowed movement, and refusal to scout ahead all indicate that the dog is in danger.
Can the Dog Die Permanently?
Yes, permafrost can the dog die permanently if you fail to manage its health and safety. The game does not currently offer a revival mechanic outside of reloading a save, which means a dead scout is gone for that run. This permanence changes how you approach risky areas. Veteran players recommend scouting dangerous zones yourself first, then bringing the dog through once you have cleared the immediate threats.
The permanent death risk also affects your inventory strategy. Because the dog carries supplies, losing it means losing whatever it was carrying. If you loaded the dog with critical food or medical supplies and it dies in a fall, those items are gone unless you can reach the body. This risk is covered in more depth in the how the dog works guide, which explains carrying capacity and item recovery.
Managing Permafrost Dog Health
Permafrost dog health is a separate system from hunger, though the two interact. The dog has a health bar that decreases from damage and a condition meter that reflects overall well-being, including hunger, warmth, and rest. If the condition meter drops too low, the dog becomes sluggish, stops scouting effectively, and takes increased damage from all sources.
Keeping the dog healthy requires attention to three main factors: food, shelter, and combat positioning. A well-fed dog with access to warmth will regenerate health slowly over time, while a starving or freezing dog will lose health even without taking direct hits. The regeneration rate is slow, so prevention is far more effective than trying to heal the dog after a fight.
Health and Condition Interactions
The table below shows how different states affect the dog's health and scouting performance. Each condition stacks with the others rather than replacing them, so a dog that is both hungry and freezing suffers two separate drains at once — a combination that can turn a routine trek across the permafrost into a medical emergency. Because the dog's detection range shrinks before it refuses to scout entirely, you get a narrow warning window to correct course with food or shelter before the early-warning system collapses.
| Dog State | Health Effect | Scout Performance | Recovery Action |
|---|---|---|---|
| Well-fed, warm | Slow health regen | Full detection range | Maintain current care |
| Hungry | No regen, slight drain | Reduced range | Feed immediately |
| Starving | Rapid condition drain | Refuses to scout | Feed and rest |
| Injured | Health loss | Limping, reduced speed | Avoid combat, apply healing if available |
| Freezing | Condition drain | Slower movement | Move to shelter or fire |
The interaction between health and scouting means that a neglected dog becomes a liability. When the dog refuses to scout ahead, you lose your early-warning system exactly when you need it most, which creates a dangerous feedback loop during long expeditions.
Healing and Recovery Options
Healing options for the dog are limited compared to your own character. There is no dedicated dog medkit in the current build, so recovery relies on food, rest, and avoiding further damage. Some players report that certain cooked meats provide a temporary health boost, but this is based on community testing rather than official documentation. The safest approach is to prevent damage entirely by recalling the dog before fights and keeping it fed.
Warmth also plays a major role in recovery. If the dog is injured, bringing it inside a shelter or near a heat source accelerates the regeneration process. The body temperature mechanics that affect your character also apply to the dog, which is why the body temperature guide is useful for understanding how cold affects companion health.
Feeding Your Dog: Food Types and Strategy
Permafrost feed dog mechanics are straightforward but require planning. The dog eats the same food categories as you do, but not every food item is equally effective. Raw meat, cooked meat, and scavenged food all restore different amounts of hunger, and some items are better saved for the dog than consumed yourself.
The dog has a hunger meter that depletes over time and with activity. Scouting, carrying heavy loads, and running all increase hunger drain. A dog that is actively scouting ahead burns through food faster than one kept at heel, which means long scouting expeditions require you to carry extra rations specifically for the companion.
Permafrost Dog Food Comparison
The table below compares common food items based on community testing and early access data. Because the dog's condition drains faster when hungry, the practical difference between food types is not just how much hunger they restore but how reliably you can source them during a run. For example, raw wolf meat restores only moderate hunger and carries a small illness risk, while cooked meat offers high hunger restoration and is preferred by the dog, making it the best general-purpose option when you have time to hunt and cook. Dried fish is lightweight and useful for expeditions where you cannot stop to prepare food, whereas scavenged canned food is high-value but scarce enough that many players save it for emergencies. Berries and bone scraps sit at the bottom of the list, restoring very little hunger and serving only as last-resort options when no other food is available.
| Food Item | Hunger Restored | Dog Preference | Notes |
|---|---|---|---|
| Raw wolf meat | Moderate | Accepts | Risk of illness if not cooked |
| Cooked meat | High | Prefers | Best general-purpose dog food |
| Dried fish | Moderate | Accepts | Lightweight, good for expeditions |
| Scavenged canned food | High | Prefers | Scarce, save for emergencies |
| Berries | Low | Accepts | Emergency only, low nutrition |
| Bone scraps | Very low | Accepts | Last resort, minimal value |
The permafrost dog food strategy that works best is to cook meat whenever possible and reserve high-value items like canned food for situations where you cannot hunt or cook. Raw meat is acceptable in a pinch, but community reports suggest that raw meat carries a small chance of causing illness, which then drains the dog's condition faster.
Feeding Frequency and Expedition Planning
A common mistake is feeding the dog only when it starts whining. By that point, the hunger meter is already low, and the dog's scouting performance has degraded. Instead, feed the dog proactively before long treks and after any combat encounter. A good rule of thumb is to check the dog's condition every time you stop to manage your own hunger and warmth.
For multi-day expeditions, plan for at least two to three full meals for the dog per in-game day, depending on how much scouting you ask it to do. If you are traveling through a region with scarce wildlife, carry dried fish or canned food as a backup. The weight cost is worth it because a starving dog cannot warn you about the next wolf pack or thin ice patch.
Advanced Scout Management Strategies
Once you understand the basics of scouting, health, and feeding, you can optimize the permafrost dog scout for specific situations. The most effective players treat the dog as a tactical asset with positioning, timing, and resource management considerations, rather than a passive follower that occasionally barks.
One advanced technique is using the dog's detection range to map threat zones before entering them. By sending the dog to the edge of a new area and watching its behavior, you can identify where predators are concentrated without exposing yourself. This is especially valuable in ruins where visibility is limited and ambushes are common.
Scout Rotation and Rest Cycles
The dog performs best when you alternate between active scouting and rest periods. Running the dog at full scouting range constantly drains its condition faster than most players expect. A rotation of 20 to 30 minutes of active scouting followed by a short rest near a heat source keeps the dog effective over long sessions.
The table below shows a sample rotation for a standard expedition day. Use it as a baseline rather than a rigid schedule, because the permafrost dog's condition drain varies with ambient temperature, travel speed, and whether it is actively tracking a scent trail. For example, if you push the dog through deep snow drifts while it is locked onto a buried cache marker, its food need can spike from Moderate to High within a single morning window, forcing you to either shorten the afternoon scouting block or sacrifice detection coverage to let it recover near a heater.
| Time Period | Dog Activity | Food Need | Notes |
|---|---|---|---|
| Morning | Active scouting | Moderate | Best visibility, maximize detection |
| Midday | Heel position | Low | Travel efficiently, conserve energy |
| Afternoon | Active scouting | Moderate | Second scouting window |
| Evening | Rest near shelter | Low | Recovery and health regen |
| Night | Shelter or guard | Low | Dog guards camp, minimal movement |
This rotation balances detection coverage with condition management because the permafrost dog scout's food need and health interact in a way that punishes continuous sprint-scenting. When the dog is locked onto a buried cache marker at full scouting range, its condition drain compounds: each failed dig attempt near frozen ground adds a small health penalty on top of the normal stamina loss, so a 30-minute block without rest can leave the dog too weak to survive a sudden permafrost dog danger like a hidden ice fissure or a predator ambush. The dog still provides value during rest periods by guarding the camp, which means you are not losing utility by giving it downtime — and a guard-state dog actually regenerates health faster than one standing idle in the open, making the evening rest block a deliberate recovery window rather than wasted time.
Coordinating with Co-op Partners
In co-op play, the permafrost dog scout becomes a shared resource that requires coordination. Only one player can direct the dog at a time, so teams need to agree on who manages feeding, scouting commands, and recall timing. Splitting these responsibilities prevents the common problem of everyone assuming someone else fed the dog.
Co-op also changes the risk calculus for dangerous areas. With multiple players, you can afford to send the dog further ahead because backup is closer. However, the permanent death risk remains, so teams should still recall the dog before engaging large predators or crossing unstable terrain. The companion mechanics remain consistent between solo and co-op, according to the official Steam page, though exact behavior may vary with future updates.
Frequently Asked Questions
Can the permafrost dog scout actually die?
Yes, the dog can die permanently from predator attacks, falls, thin ice, starvation, or exposure. There is no automatic respawn, so you must reload an earlier save to recover a dead companion. This permanence makes prevention through feeding, positioning, and recall commands the most important survival skill for dog owners.
What are the biggest permafrost dog dangers to watch for?
The most lethal threats are bear attacks and cliff falls, both of which can kill the dog instantly. Thin ice is also extremely dangerous because the dog often runs ahead and breaks through before you can react. Wolf packs are dangerous but usually give you time to recall the dog before it takes fatal damage.
How do I check my dog's health in Permafrost?
The dog does not show a visible health bar, so you must read behavioral cues. Limping, whining, slowed movement, and refusal to scout all indicate low health or condition. Feed the dog, move it to warmth, and avoid combat until the behavior returns to normal.
What is the best permafrost dog food for long expeditions?
Cooked meat is the best general-purpose food because it restores high hunger and the dog prefers it. Dried fish is the best lightweight option for long treks where hunting is unreliable. Save canned food for emergencies when you cannot cook or hunt.
How often should I feed my dog while scouting?
Feed the dog proactively before long treks and after combat, not just when it starts whining. Plan for two to three full meals per in-game day during active scouting. Check the dog's condition every time you manage your own hunger and warmth to avoid performance degradation.