
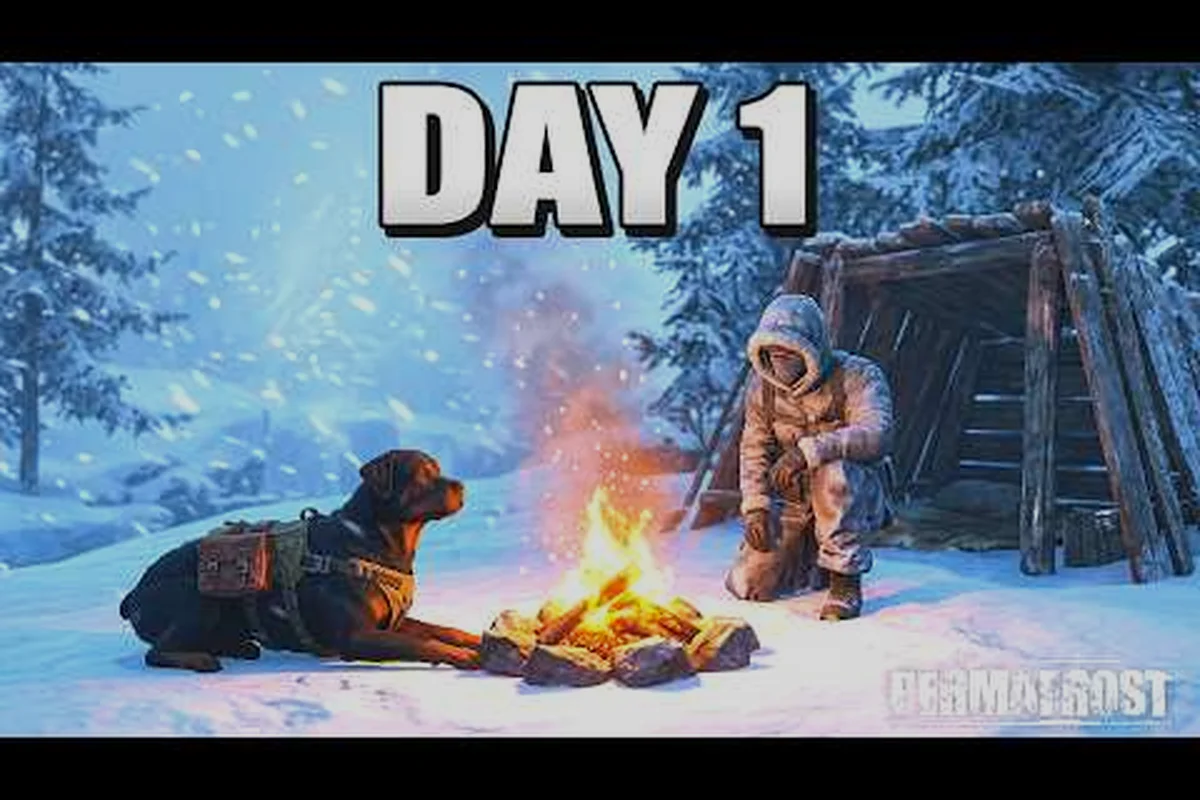
Cold is the real enemy in Permafrost, and a poorly heated shelter will drain your health faster than any blizzard outside. This permafrost heating guide breaks down exactly how stoves, beds, and storage boxes work together, so you can build a base that actually keeps you alive through the endless winter. Understanding heat management early prevents the frustrating death loop that traps new players in the first few hours.
Understanding Core Heat Mechanics in Permafrost
Heat in Permafrost is not a simple on/off switch. Your character has a Core Temperature stat that drops whenever you are exposed to cold air, and it only recovers when you stand near a functioning heat source inside an enclosed space. The game tracks Ambient Temperature separately from Heat Source Output, which means a stove placed in an open ruin will barely warm you because the heat dissipates into the frozen air. Players quickly learn that Enclosure Integrity matters just as much as the stove itself, because gaps in walls or missing roof sections let warmth escape and cold seep in.
The base heating loop works like this: you burn fuel in a stove, the stove raises the ambient temperature of the room, and your character's core temperature slowly climbs back toward normal. If the room temperature stays below freezing, your core temperature continues to drop even while standing next to the stove. This is why many new players report dying of hypothermia while huddled around a weak fire. According to community testing, a fully enclosed room with a single Basic Stove can maintain roughly 8 to 12 degrees Celsius above the outside temperature, but that margin shrinks dramatically during blizzards.
| Heat Source | Fuel Type | Approx. Output | Best Use Case |
|---|---|---|---|
| Campfire | Wood scraps | Low | Emergency outdoor warmth |
| Basic Stove | Firewood | Medium | Small enclosed rooms |
| Upgraded Stove | Coal or firewood | High | Large bases, multi-room |
| Radiator Array | Electricity | Very high | Late-game permanent base |
Fuel consumption is the hidden cost that catches players off guard. A Basic Stove burns through a full stack of firewood in roughly one in-game night, which means you need a steady supply of wood before committing to a permanent base. The Upgraded Stove is more efficient per unit of heat, but it requires Permafrost building parts that are locked behind mid-game progression. Players who rush into building a large shelter before securing fuel sources often find themselves chopping frozen trees in the dark just to survive until morning.
Building an Effective Stove Setup
The stove is the heart of any heated base, and placement matters more than most players expect. A stove placed in the center of a room distributes heat evenly, while one shoved into a corner creates a warm pocket that leaves the rest of the room dangerously cold. The game calculates Heat Radius from the stove's position, and walls do not block heat within the same enclosed space. This means you can heat multiple connected rooms with a single powerful stove, as long as there are no closed doors between them.
Your permafrost stove guide should start with the Basic Stove, which unlocks early and runs on firewood. It is enough for a small shelter with one or two rooms, but it struggles to keep up when temperatures drop below minus 30 Celsius. The Upgraded Stove is the real workhorse, offering roughly 40 percent more heat output while consuming fuel at a similar rate. Community reports suggest that the upgraded version can maintain a comfortable temperature in a three-room base even during moderate blizzards.
Fuel Management and Burn Times
Fuel is the lifeblood of your heating system, and running out at night is a death sentence. Firewood is the most common fuel, harvested from dead trees and broken furniture scattered across the map. Coal burns longer and hotter but is rarer, usually found in abandoned mines or purchased from traders. Scrap Wood burns fast and produces little heat, making it a poor choice for overnight burns but acceptable for quick warm-ups.
| Fuel Type | Burn Time | Heat Output | Availability |
|---|---|---|---|
| Scrap Wood | 15 min | Low | Very common |
| Firewood | 45 min | Medium | Common |
| Coal | 90 min | High | Rare, tradable |
| Processed Fuel | 120 min | Very high | Late-game craft |
A full night in Permafrost lasts approximately 8 in-game hours, which translates to about 10 to 12 minutes of real time. That means you need at least two full stacks of firewood to keep a Basic Stove burning through the night. Players who plan to sleep through the night should always overstock fuel, because waking up to a cold stove means starting the day with a dangerously low Core Temperature.
Heating Your Base Through Multiple Rooms
Once you move beyond a single-room shelter, heating your base becomes a logistics puzzle. The game does not simulate airflow in detail, but it does track Room Temperature independently for each enclosed space. A stove in the main room will not automatically heat a bedroom down the hall unless you leave the door open or install a second heat source. This is where Permafrost base upgrades like Ventilation Ducts and Heat Pipes come into play.
Heat Pipes are a mid-game building part that lets you route warmth from a central stove to adjacent rooms. They cost metal and require a Workbench Level 2 to craft, but they solve the multi-room heating problem without burning extra fuel. A single Upgraded Stove connected to two Heat Pipes can keep a bedroom and a storage room warm enough to prevent frost buildup on your supplies. Players who skip this upgrade often end up with a toasty main room and a frozen bedroom, which defeats the purpose of having a bed to sleep in.
Insulation and Enclosure Upgrades
Heat loss is just as important as heat generation. The game tracks Insulation Value for each wall, floor, and roof piece, and higher-tier building parts hold heat better than basic wooden planks. Insulated Walls are a direct upgrade that reduces heat loss by roughly 30 percent, which means your stove burns less fuel to maintain the same temperature. This is a critical investment for anyone planning to survive long-term in a fixed location.
| Building Part | Insulation Value | Material Cost | Heat Loss Reduction |
|---|---|---|---|
| Wooden Wall | 1 | Low | Baseline |
| Reinforced Wall | 2 | Medium | 15% |
| Insulated Wall | 3 | High | 30% |
| Stone Wall | 4 | Very high | 45% |
The roof is the most overlooked part of base heating. A missing or damaged roof section lets warm air escape upward, and the game punishes this heavily. Players who repair their roof before upgrading walls report noticeably better heat retention, even with the same stove. The permafrost roof guide covers the full repair process, but the short version is that every hole in your ceiling is a hole in your heat budget.
Beds, Sleep, and Warmth Recovery
Sleeping is the primary way to recover health and stamina in Permafrost, but sleeping in a cold room provides almost no benefit. Your character's Core Temperature continues to drop while you sleep, and if the room is below freezing, you can wake up in worse shape than when you went to bed. This makes the bed a critical part of your heating system, not just a convenience item.
The permafrost bed guide starts with the Basic Bedroll, which is portable and can be placed anywhere. It provides a small Warmth Bonus while sleeping, but it is not enough to offset a freezing room. The Wooden Bed is the first real upgrade, offering a larger warmth bonus and faster stamina recovery. The Insulated Bed is the endgame option, combining a high warmth bonus with reduced calorie consumption while sleeping.
Bed Placement and Warmth Synergy
Bed placement matters because the warmth bonus only applies while you are actually sleeping. Placing your bed near the stove maximizes the combined effect, but you need to be careful about Carbon Monoxide buildup in very small rooms. The game does not simulate carbon monoxide directly, but community testing suggests that sleeping too close to a stove in a tiny enclosed space can cause a Suffocation debuff that drains health.
| Bed Type | Warmth Bonus | Stamina Recovery | Special Effect |
|---|---|---|---|
| Basic Bedroll | +2 | Slow | Portable |
| Wooden Bed | +5 | Medium | None |
| Insulated Bed | +8 | Fast | Reduced calorie drain |
| Medical Cot | +6 | Fast | Health regen while sleeping |
The ideal setup is a bedroom with an Insulated Bed placed 2 to 3 tiles away from a heat source, with Insulated Walls on all sides. This combination keeps your Core Temperature stable through the night and lets you wake up fully rested. Players who invest in this setup early report spending far less time managing cold debuffs and far more time exploring and gathering resources.
Storage Boxes and Temperature-Sensitive Items
Storage is not just about organization in Permafrost. Certain items degrade faster when stored in freezing conditions, and some consumables become unusable if they freeze solid. Food is the most obvious example, but Medicine, Water, and even Ammunition can suffer penalties when left in an unheated storage area. This makes permafrost storage boxes a strategic part of your base layout, not just a quality-of-life feature.
The Basic Storage Box holds 20 item slots and provides no temperature protection. Items stored inside are treated as if they are sitting on the floor, which means food spoils at the normal rate and water freezes during cold snaps. The Insulated Storage Box is the direct upgrade, maintaining a slightly warmer internal temperature that slows food spoilage and prevents water from freezing. The Heated Storage Box is the endgame option, actively warming its contents and completely preventing freeze damage.
| Storage Type | Capacity | Temperature Protection | Best For |
|---|---|---|---|
| Basic Storage Box | 20 slots | None | Building materials |
| Insulated Storage Box | 25 slots | Passive warmth | Food, medicine |
| Heated Storage Box | 30 slots | Active heating | Perishables, water |
| Weapon Rack | 10 slots | None | Weapons, tools |
Food spoilage is the biggest storage concern. Raw meat spoils in about 2 in-game days at room temperature, but that timer drops to less than a day in freezing conditions. Cooked meals last longer but still degrade. Storing food in an Insulated Storage Box roughly doubles its shelf life, while a Heated Storage Box can keep food fresh for nearly a week. This is a massive efficiency gain for players who hunt in bulk and want to avoid daily cooking sessions.
Advanced Base Heating Strategies
Once you have the basics down, there are several advanced strategies that separate comfortable bases from barely-surviving ones. The first is Zoned Heating, where you divide your base into a warm core and a cold perimeter. The warm core contains your bed, stove, and heated storage, while the cold perimeter holds building materials and other items that do not care about temperature. This reduces the total space you need to heat and saves fuel.
The second strategy is Heat Banking, where you use Thermal Mass items to store heat during the day and release it at night. Stone Walls and Stone Floors have high thermal mass, meaning they absorb heat while the stove is burning and slowly release it after the fire dies. A base with stone interior walls will stay warm for several in-game hours after the stove runs out of fuel, which can be the difference between surviving a long night and freezing to death.
Combining Upgrades for Maximum Efficiency
The most efficient bases combine multiple upgrades that multiply each other's effects. Insulated Walls reduce heat loss, Heat Pipes distribute warmth to multiple rooms, and Thermal Mass materials hold that warmth longer. A fully upgraded base can maintain a livable temperature with roughly half the fuel consumption of a basic wooden shelter, which frees up time and resources for other activities.
| Upgrade Combination | Fuel Savings | Comfort Level | Setup Cost |
|---|---|---|---|
| Basic shelter + Basic Stove | Baseline | Barely survivable | Low |
| Insulated Walls + Upgraded Stove | 30% | Comfortable | Medium |
| Full insulation + Heat Pipes | 50% | Very comfortable | High |
| Stone build + Heated Storage | 60% | Optimal | Very high |
The permafrost base building guide covers the full construction process, but the heating-specific takeaway is that insulation and heat distribution matter more than raw stove power. A Basic Stove in a well-insulated room outperforms an Upgraded Stove in a leaky wooden shack, because the game rewards enclosure quality over brute-force heat output.
Frequently Asked Questions
How do I keep my base warm during a blizzard?
Blizzards drop outside temperatures by an additional 15 to 20 Celsius, which overwhelms weak heat sources. You need an Upgraded Stove or better, fully Insulated Walls, and a repaired roof to maintain a livable indoor temperature. Stockpile extra fuel before the storm hits, because gathering wood during a blizzard is extremely dangerous.
What is the best fuel for heating in Permafrost?
Coal is the best fuel for overnight burns because it lasts 90 minutes and produces high heat output. Firewood is the best everyday fuel due to its availability and decent burn time. Scrap Wood is only useful for emergency warmth or quick crafting sessions, never for sleeping through the night.
Do storage boxes need to be heated?
Only if you store perishable items like food, medicine, or water. Building materials, weapons, and tools do not degrade in freezing conditions. Use an Insulated Storage Box or Heated Storage Box for food and medicine, and save your basic boxes for non-perishable supplies.
Can I heat multiple rooms with one stove?
Yes, if you leave doors open or install Heat Pipes. A single Upgraded Stove can heat two or three connected rooms when paired with Heat Pipes, but closed doors block heat transfer. Plan your base layout so the bedroom and storage room are adjacent to the main heated area.
Why does my character keep freezing even next to the stove?
Your character's Core Temperature recovers slowly, and if the room temperature is still below freezing, the recovery may not outpace the cold. Check your Enclosure Integrity for gaps in walls or roof, upgrade to Insulated Walls, and make sure you are not standing in a cold pocket far from the stove's Heat Radius.
This permafrost heating guide has covered the full loop from stove placement and fuel management to bed warmth bonuses and temperature-safe storage. The core takeaway is that heating is a system, not a single item, and every upgrade you make to insulation, distribution, and storage compounds into a base that feels genuinely livable. Master these mechanics early, and the endless winter becomes a challenge you manage rather than a threat that kills you.