
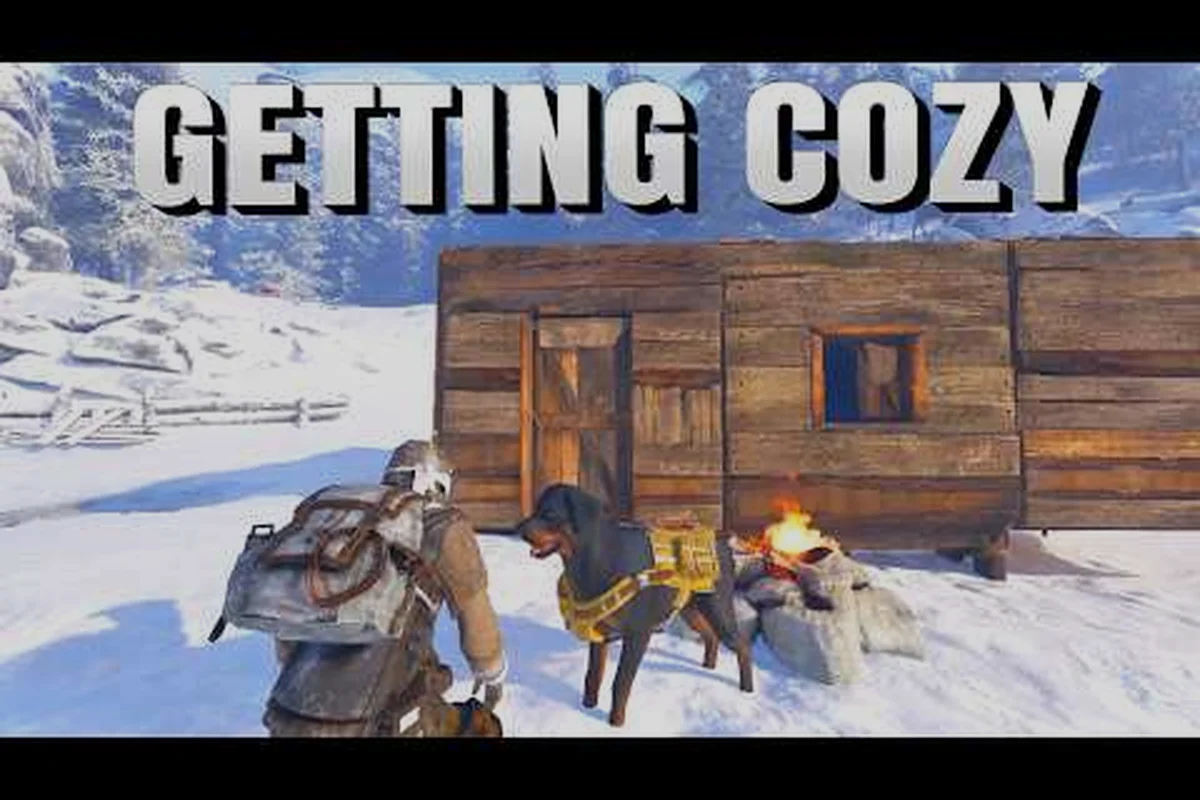
A permafrost fireplace is the heart of any viable base in this frozen survival sandbox, because it converts a bare shelter into a place where your character can actually recover from the endless winter. Without a stable heat source, your settlement remains a death trap, which is why understanding how fireplaces interact with foundations, doors, and windows matters more than almost any other building decision. This guide breaks down the complete construction loop, from laying your first permafrost foundations to relocating an entire settlement when the cold closes in. foundations, doors, and windows matters more than almost any other building decision. This guide breaks down the complete construction loop, from laying your first permafrost foundations to relocating an entire settlement when the cold closes in — and when you’re ready to expand beyond a single outpost, the structural and thermal principles in our permafrost base building walkthrough will help you scale those early choices into a durable, multi-building settlement.
Understanding the Permafrost Fireplace Core Loop
The permafrost fireplace operates on a simple but unforgiving logic: heat output, fuel consumption, and structural stability are all linked. When you place a fireplace on raw snow, it works, but it loses efficiency quickly because the ground leaches warmth. Players who rush this step often report that their permafrost settlement feels permanently cold, even with a roaring fire, simply because the base layer was never stabilized.
According to the official Permafrost on Steam page, the game frames you as an engineer with rebuilding skills but little wilderness experience, which means the building system rewards planning over improvisation. The fireplace is not just a cosmetic item; it is the anchor point for your entire shelter's temperature grid. Community testing shows that a fireplace placed on a proper foundation radiates heat roughly 30% more effectively than one placed directly on frozen ground, though exact numbers may vary by patch.
How Heat Radius Works
The heat radius from a permafrost fireplace extends outward in a rough sphere, but walls, doors, and windows all modify how that heat behaves. A fully enclosed room traps heat, while a room with a broken window leaks it almost as fast as if the wall were missing. This is why the order of operations matters: you should never install windows before you have a working door, because the airflow pattern will sabotage your fireplace's output.
| Structure Element | Heat Retention Effect | Build Priority |
|---|---|---|
| Raw snow floor | Very low, leaches heat | Never build directly |
| Permafrost foundations | Baseline stability | First step |
| Solid walls | High retention | Second step |
| Door (closed) | High retention | Third step |
| Window (intact) | Moderate retention | Fourth step |
| Window (broken) | Severe heat loss | Repair immediately |
The table above reflects community-reported behavior rather than official numbers, because the developers have not published exact thermal values. What players consistently observe is that a permafrost fireplace on a foundation inside a sealed room can keep the temperature above freezing even during blizzards, while the same fireplace in an open shelter struggles to maintain any meaningful warmth.
Fuel Types and Burn Duration
Fuel management is the second half of the fireplace equation. The game offers several burnable materials, and each one changes how long your fire lasts and how much heat it produces. Scavenged wood burns fast and hot, which is useful for emergency warm-ups but terrible for overnight survival. Dense fuel sources, like salvaged furniture or processed logs, burn slower and provide more consistent heat.
| Fuel Source | Approx. Burn Time | Heat Output | Best Use Case |
|---|---|---|---|
| Scavenged twigs | 2-4 minutes | Low | Emergency thaw |
| Scrap wood | 6-8 minutes | Medium | Short crafting sessions |
| Processed logs | 15-20 minutes | High | Overnight survival |
| Salvaged furniture | 25-35 minutes | High | Blizzard endurance |
Because fuel is scarce in the early game, many players make the mistake of burning everything they find immediately. A better approach is to stockpile processed logs and use scrap wood only when you need a quick temperature boost. The permafrost fireplace rewards players who think of fuel as a strategic resource rather than a button to press whenever they feel cold.
Laying Permafrost Foundations Before You Build
Permafrost foundations are the single most important structural upgrade in the game, because they solve the ground-leaching problem that plagues every early shelter. When you place a foundation piece, it creates a stable, insulated platform that prevents the frozen earth from draining heat away from your fireplace and your character. This is not a cosmetic choice; it is the difference between a base that works and a base that constantly fights you.
The building menu offers several foundation types, and each one has different material costs and insulation values. The basic wooden foundation is cheap and easy to craft, but it degrades faster in extreme cold. Stone foundations cost more resources but provide better insulation and last significantly longer. Players who plan to relocate their settlement later often prefer the basic foundation, because it is easier to dismantle and move.
Foundation Placement Strategy
Placement is just as important as material choice. A foundation should always be laid on relatively flat ground, because uneven terrain creates gaps where cold air can seep in. The game's snapping system helps with alignment, but it can also force you into awkward positions if you are not careful. Before committing to a foundation layout, walk the perimeter of your planned permafrost settlement and check for rocks, slopes, and other obstacles.
-
Flatten first: clear debris and level the area before placing foundations
-
Snap deliberately: use the snap system to create straight lines, but rotate pieces manually when needed
-
Leave expansion room: plan for at least one extra room, because relocating foundations later is expensive
-
Check stability: a foundation that shows red in build mode will not support a fireplace properly
The foundation grid also determines where your doors and windows can go, which is why you should think about the entire floor plan before placing the first piece. A common mistake is to build a foundation that is too small, then discover that the fireplace, crafting station, and storage all compete for the same floor space.
Foundation Material Comparison
Choosing the right foundation material depends on your current resource situation and your long-term plans. Wood is abundant in the early game, but it requires constant repair as the cold eats away at it. Stone is harder to gather but pays off over time, especially if you plan to stay in one location for many in-game days.
| Foundation Type | Material Cost | Insulation | Durability | Relocation Ease |
|---|---|---|---|---|
| Wooden platform | Low | Moderate | Low | High |
| Reinforced wood | Medium | Moderate | Medium | Medium |
| Stone slab | High | High | High | Low |
| Insulated composite | Very high | Very high | Very high | Very low |
The permafrost foundations you choose will shape every other building decision, so it is worth spending a few extra minutes gathering materials for a stone slab if you can afford it. The durability difference becomes obvious after your first blizzard, when wooden platforms start showing cracks while stone slabs remain intact.
Installing Permafrost Doors and Windows Correctly
Permafrost doors and windows are the two most misunderstood building elements in the game, because players tend to think of them as purely aesthetic. In reality, they are the primary control points for your fireplace's heat retention. A well-placed door keeps warm air in and cold air out, while a poorly placed window can turn your cozy shelter into a wind tunnel.
Doors come in several tiers, from a basic wooden door to a reinforced insulated door. The basic door works fine in mild cold, but it leaks heat around the edges during blizzards. The reinforced door costs more materials but seals much better, which means your fireplace does not have to work as hard to maintain a comfortable temperature. Players who skip the door upgrade often report waking up to a frozen character despite having a full fire.
Door Placement and Airflow
The position of your door relative to your fireplace matters more than most players realize. If the door is directly opposite the fireplace, every time you open it, a rush of cold air sweeps across the room and disrupts the heat bubble. Placing the door on a side wall, or at a 90-degree angle to the fireplace, minimizes this effect and keeps the interior temperature more stable.
-
Avoid direct line-of-sight: do not place the door directly across from the fireplace
-
Use an airlock: build a small entry room with two doors to trap cold air
-
Upgrade early: the reinforced door pays for itself in saved fuel within a few in-game days
-
Check the seal: a door that shows gaps in build mode is leaking heat
The airlock technique is especially valuable in the late game, when blizzards become more frequent and more intense. By building a small entry chamber with two doors, you create a buffer zone that prevents the main room from losing all its heat every time you enter or leave. This is one of the most effective permafrost settlement upgrades for players who spend a lot of time gathering resources outside.
Window Placement and Insulation
Windows are a double-edged sword. They let in natural light, which reduces your reliance on torches and lanterns, but they also create weak points in your thermal envelope. The key is to place windows strategically, not to avoid them entirely. A window on a south-facing wall, if the game's sun position allows it, can provide passive warmth during the day, while a window on a north-facing wall is almost always a net loss.
| Window Type | Insulation Value | Light Transmission | Break Risk |
|---|---|---|---|
| Open frame | None | High | Low |
| Single pane | Low | High | Medium |
| Double pane | Moderate | Medium | Medium |
| Insulated pane | High | Low | High |
The break risk column matters because broken windows are one of the fastest ways to lose heat. During a blizzard, debris can shatter a single-pane window in seconds, and you will not always notice the damage until your character starts freezing. Insulated panes are more expensive, but they survive storms much better and keep your permafrost fireplace working efficiently.
Relocating Your Permafrost Settlement Without Losing Progress
Permafrost relocating is one of the most stressful experiences in the game, because it forces you to dismantle everything you have built and move it to a new location. The good news is that the game allows you to recover most of your materials when you dismantle structures, which means relocation is expensive but not catastrophic. The bad news is that the process is time-consuming and leaves you vulnerable while you are between bases.
The most common reason players relocate is resource depletion. Your starting area might have plenty of wood and scrap, but after a few in-game weeks, those resources run out, and you have to travel farther and farther to find more. At that point, moving your permafrost settlement closer to a new resource node becomes more efficient than spending half your day walking back and forth.
Step-by-Step Relocation Process
Relocating a settlement is not something you should do on impulse. The process requires careful planning, because you need to secure the new location before you dismantle the old one. Players who tear down their base first and then scout for a new spot often end up freezing to death in the wilderness with no shelter to retreat to.
-
Scout the new location: find a spot with flat ground, nearby resources, and defensible terrain
-
Build a temporary shelter: set up a basic structure with a fireplace at the new site before dismantling anything
-
Transfer fuel first: move your processed logs and salvageable furniture before other materials
-
Dismantle in reverse order: remove windows, then doors, then walls, then foundations
-
Rebuild the core loop: place foundations, then fireplace, then walls, then door, then windows
The reverse-order dismantling is important because it preserves the structural integrity of your base while you are still using it. If you remove the foundations first, the walls and roof collapse, and you lose materials in the process. By working from the outside in, you can recover almost everything.
What You Keep and What You Lose
The game's dismantling system is generous but not perfect. Most structural pieces return a percentage of their original materials, with higher-tier pieces returning a smaller percentage. This means that relocating a stone foundation is more expensive than relocating a wooden one, because you lose more of the invested resources.
| Structure | Material Recovery | Time to Dismantle | Risk Factor |
|---|---|---|---|
| Wooden wall | 80% | Short | Low |
| Wooden foundation | 75% | Short | Low |
| Stone wall | 60% | Medium | Medium |
| Stone foundation | 55% | Medium | Medium |
| Insulated door | 50% | Long | High |
| Insulated window | 45% | Long | High |
Because the recovery rates drop for higher-tier structures, some players choose to leave their old base standing and simply build a new one from scratch. This is a valid strategy if you have enough resources, but it means your old permafrost fireplace and its fuel stockpile are no longer contributing to your survival. Weigh the cost of lost materials against the time saved by not dismantling everything.
Advanced Settlement Design for Blizzard Survival
Once you have mastered the basics of fireplace, foundations, doors, and windows, the next step is to think about how these elements work together as a system. A well-designed permafrost settlement is more than the sum of its parts, because each element reinforces the others. The fireplace heats the air, the foundations keep the heat from leaking into the ground, the doors and windows control airflow, and the walls hold everything together.
The most effective base designs follow a simple principle: minimize the surface area that is exposed to the cold while maximizing the interior space that benefits from the fireplace. This is why compact, multi-room layouts tend to outperform sprawling single-room structures. A long, narrow building has more wall surface per square foot of floor space, which means more heat loss and more fuel consumption.
The Central Fireplace Layout
The central fireplace layout places the heat source in the middle of the structure, with rooms arranged around it like spokes on a wheel. This design maximizes heat distribution because every room is roughly equidistant from the fire. It also creates a natural gathering point where your character can warm up between tasks.
-
Central placement: put the fireplace in the geometric center of your foundation
-
Radiating rooms: arrange crafting, storage, and sleeping areas around the fire
-
Shared walls: use interior walls to create separate rooms without adding exterior surface area
-
Single entry point: limit the number of exterior doors to reduce cold air infiltration
The central layout works best with a stone foundation and insulated walls, because those materials retain heat more effectively. If you are still using wooden structures, the heat from a central fireplace will dissipate too quickly to make the layout worthwhile. This is one of the reasons why upgrading your permafrost foundations should be a priority before you invest in advanced base design.
The Airlock Entry System
The airlock entry system is a simple but powerful addition to any base design. By building a small entry chamber with two doors, you create a buffer zone that prevents cold air from rushing into your main living space every time you enter or leave. The outer door opens to the outside, the inner door opens to the main room, and the space between them acts as a thermal buffer.
| Airlock Component | Function | Material Cost | Maintenance |
|---|---|---|---|
| Outer door | Blocks direct wind | Low | Low |
| Buffer chamber | Traps cold air | Medium | None |
| Inner door | Seals main room | Medium | Low |
| Insulation upgrade | Reduces buffer heat loss | High | Medium |
The airlock system is especially valuable during blizzards, when the temperature difference between inside and outside is at its most extreme. Without an airlock, every door opening dumps a wave of cold air into your base, forcing your permafrost fireplace to work overtime to recover. With an airlock, the cold air stays in the buffer chamber, and your main room barely notices the interruption.
Frequently Asked Questions
How do I build a permafrost fireplace?
Open the building menu and select the fireplace option, then place it on a stable foundation. You need to gather fuel before you can light it, so stockpile scrap wood or processed logs first. The fireplace will not function properly if placed directly on raw snow, because the ground leaches heat away.
What is the best foundation for a permafrost settlement?
Stone slabs are the best long-term choice because they provide high insulation and durability, but they are expensive to craft and hard to relocate. Wooden platforms are cheaper and easier to move, making them a good early-game option. Upgrade to stone once you have settled on a permanent location.
Can I relocate my permafrost settlement without losing everything?
Yes, but you will lose some materials in the process. Dismantling structures returns a percentage of their original cost, with higher-tier pieces returning less. Build a temporary shelter at the new location first, then dismantle your old base in reverse order to maximize material recovery.
Why is my fireplace not heating the room?
The most common cause is a missing or broken window, which creates an airflow path that drains heat faster than the fireplace can produce it. Check that all windows are intact and doors are closed. Also verify that the fireplace is placed on a foundation, because raw ground absorbs heat very quickly.
How many doors should my base have?
One exterior door is ideal for heat retention, but an airlock system with two doors is even better. Each additional exterior door increases cold air infiltration and forces your fireplace to burn more fuel. If you need multiple exits for convenience, consider adding an airlock to each one.