
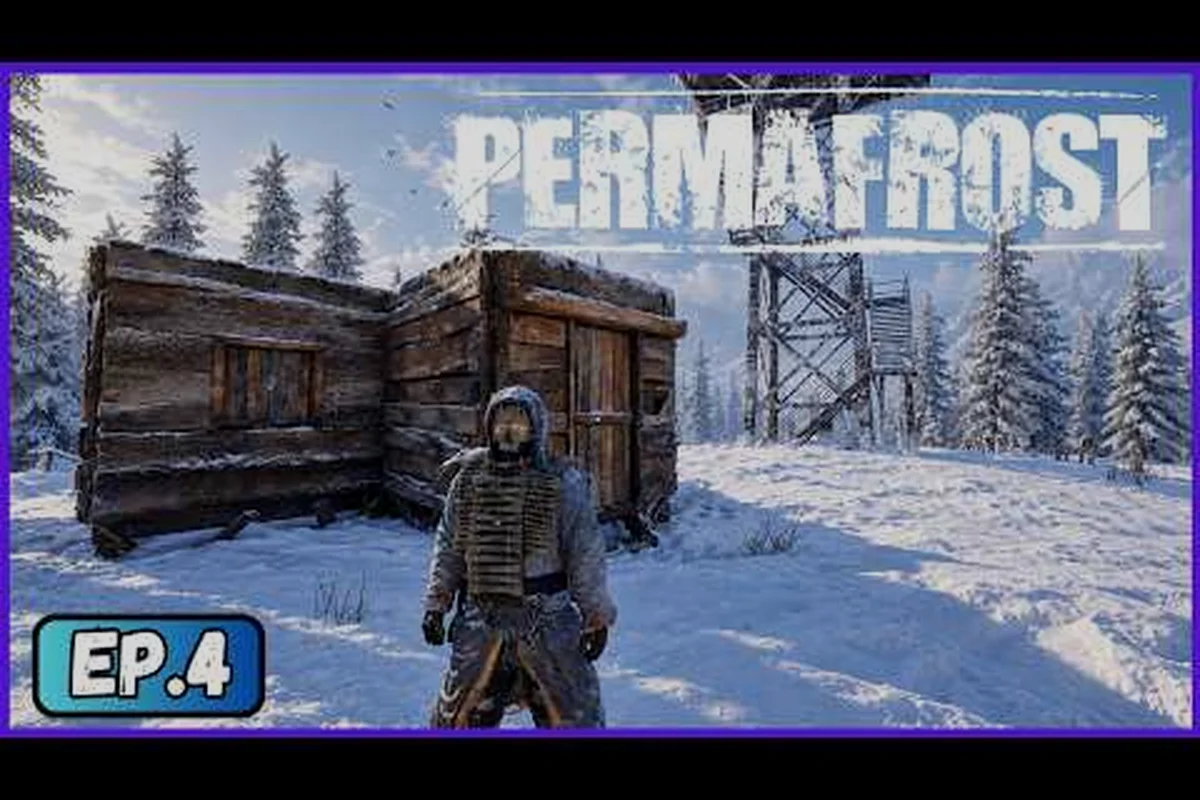
Your first night in Permafrost decides whether your Rook wakes up warm or becomes another frozen statistic in the endless winter. Permafrost base building is not about decorating a cozy cabin; it is about constructing a thermal envelope that traps heat, blocks wind, and gives you a staging point for every expedition into the white hell. According to the official Permafrost on Steam page, you step into this frozen world as an engineer with rebuilding skills but little wilderness experience, which means your shelter has to compensate for everything your character does not yet know. A poorly placed wall or a missing roof panel will drain your body heat faster than a blizzard, while a well-planned base turns a lethal map into a manageable loop of scavenging, crafting, and recovery.
This guide breaks down the complete permafrost shelter building process from your first salvaged plank to a multi-room base that shrugs off whiteout conditions. You will learn which materials to gather first, how to sequence your construction so you never sleep exposed, and which design choices matter most when the temperature drops to lethal levels. The difference between surviving twenty days and dying on day three almost always comes down to the order in which you build your first four structures.
Permafrost Base Building Fundamentals: What Your First Shelter Must Do
Before you place a single wall, you need to understand the three jobs every early shelter performs in Permafrost. The first job is thermal retention — your base traps the heat generated by your body, a stove, or a fire so the interior stays above freezing even when the outside temperature crashes. The second job is wind blocking, because the game models wind chill as a separate threat from ambient cold, and an open wall facing the prevailing wind will negate even a well-insulated room. The third job is resource anchoring, which means your shelter gives you a safe place to store materials, craft upgrades, and recover stamina without burning calories on constant movement.
Community testing from early access players consistently shows that a 3x3 foundation with full walls and a roof is the minimum viable shelter for the first week. Anything smaller forces you to choose between a bed, a storage box, and a heat source, and you will end up dismantling and rebuilding within days. A 3x3 footprint gives you enough interior space for a bedroll, a campfire or stove, and two storage containers while still leaving a clear path to the door. Players who try to save materials with a 2x2 box report losing more heat to wall proximity penalties, because the game calculates your distance from cold surfaces when determining how fast your body temperature drops overnight.
| Shelter Component | Primary Function | Minimum Tier for Week One | Common Beginner Mistake |
|---|---|---|---|
| Foundation | Prevents heat loss through ground contact | Wooden platform | Building directly on snow |
| Walls | Block wind and retain interior heat | Plank walls | Leaving one side open for a "view" |
| Roof | Stops precipitation and seals thermal envelope | Sloped wooden roof | Using a flat roof that collects snow |
| Door | Controlled entry without full heat loss | Wooden door | Leaving a doorway open permanently |
| Heat Source | Raises interior temperature above survival threshold | Campfire or basic stove | Placing fire outside the shelter |
The foundation is the most skipped component in early permafrost base building, and it is also the one that quietly kills the most new players. When you place walls directly on snow, the game treats the floor as a cold surface that continuously saps heat from your character whenever you stand still. A wooden platform raises you off the frozen ground and creates a thermal break that makes every subsequent heating upgrade more efficient. Build the foundation first, even if it means spending an extra hour gathering wood, because retrofitting a foundation under existing walls is far more expensive than doing it correctly from the start.
Gathering Materials for Permafrost Shelter Building: A Scavenging Priority List
Material scarcity defines the early game in Permafrost, so your permafrost building guide has to start with what to grab and what to ignore. The map is littered with salvage, but carrying capacity is limited, and every unnecessary item you haul back to base is heat and stamina you are not spending on actual construction. Wood is your universal early material, used in foundations, walls, roofs, doors, and basic furniture, which means it should be your highest-priority pickup for the first three days. Scrap metal becomes important once you unlock reinforced walls and better stoves, but it is heavy and mostly useless before you have a basic shelter standing.
Players who follow an efficient scavenging route report that a single loop through a collapsed cabin cluster or an abandoned outpost yields enough wood for a 3x3 foundation plus two walls, assuming you break down every piece of furniture and structural debris you find. The key is to prioritize dismantling over looting — a broken chair gives you more usable wood than three loose planks, and a collapsed wall section can be harvested for enough material to build an entire new wall. Carry a salvage tool at all times and break down anything wooden you encounter before moving on.
| Material | Primary Use | Best Source | Carry Priority | Notes |
|---|---|---|---|---|
| Wood | Foundations, walls, roofs, doors | Dismantled furniture, debris piles | Very High | Always grab, even if you drop something else |
| Scrap Metal | Reinforced walls, advanced stoves | Vehicle wrecks, industrial sites | Medium | Heavy; only haul when you have a base |
| Cloth | Bedroll, insulation, basic repairs | Abandoned clothing, tents | High | Lightweight and always useful |
| Stone | Fire rings, reinforced foundations | Rock outcrops, ruined chimneys | Low early | Save for mid-game upgrades |
| Rope | Binding, traps, some furniture | Crates, supply caches | Medium | Small stack goes a long way |
One of the most important permafrost how to build lessons is that you do not need to finish your shelter in one trip. The game is designed around incremental construction, and the smartest early strategy is to build a windbreak — a single wall or L-shaped corner — on your first night, then expand it into a full shelter over the next two days. A windbreak costs a fraction of a full base and still blocks the wind chill penalty from one direction, which can be the difference between shivering through the night and freezing to death. Once the windbreak is up, you have a safe spot to drop materials and plan your next construction push without losing everything to exposure.
Permafrost Base Design: Layout Principles That Keep You Alive
Permafrost base design is not about aesthetics; it is about thermal efficiency, traffic flow, and future expansion. The most common layout mistake new players make is building a single large room and then discovering that heat does not distribute evenly across a wide open space. The game's heat model favors compartmentalization, which means dividing your base into smaller rooms that each hold heat more effectively than one big hall. A two-room design — a heated living space and a cold storage annex — is the sweet spot for the first two weeks, because it lets you keep your bed and stove in a small, warm core while storing materials in a space where temperature does not matter.
The airlock principle is the second pillar of effective permafrost base design. Every time you open a door to the outside, you vent a significant portion of your interior heat, and in a blizzard that heat loss can take minutes to recover. An airlock entryway — a small unheated vestibule with a second door leading into your main room — cuts that heat loss dramatically, because the outer door closes before the inner door opens. The airlock does not need to be large; a 1x2 space with two doors is enough to create a thermal buffer that keeps your living area stable even during frequent trips outside.
| Base Layout | Heat Efficiency | Material Cost | Best Use Case | Expansion Potential |
|---|---|---|---|---|
| Single 3x3 Room | Low | Very Low | First 2-3 nights only | Poor; requires demolition to expand |
| 3x3 + Airlock | Medium | Low | Week one standard | Good; add rooms to sides |
| Two-Room Split | High | Medium | Week two onward | Excellent; modular expansion |
| Central Hub + Wings | Very High | High | Mid-game base | Best; each wing can be a dedicated function |
| Multi-Floor Tower | High | Very High | Late-game project | Vertical expansion saves ground footprint |
When you are ready to expand beyond the basic shelter, the central hub model is the most future-proof permafrost base design. Build a compact heated core containing your bed, stove, and crafting station, then attach specialized wings for storage, food processing, and eventually a workshop. Each wing connects to the hub through a door, which means you can heat the core efficiently while leaving the wings cold when they are not in use. This modular approach also makes it easier to defend your base, because you can seal off a damaged wing without compromising the entire shelter. For a deeper look at where to place this kind of base on the map, the permafrost best base locations guide covers terrain advantages and resource proximity in detail.
Step-by-Step Permafrost Shelter Guide: From Windbreak to Blizzard-Proof Base
The following permafrost shelter guide walks through the exact construction sequence that experienced players recommend for the first five days. Each step builds on the previous one, and skipping ahead — for example, building a roof before your walls are stable — wastes materials and leaves you exposed. Follow the order, and you will have a functional base by the end of day three and a comfortable one by day five.
Step 1: Scout and Select Your Site
Before you gather a single plank, spend your first hour of daylight scouting for a flat, elevated location near a wood source and a water source. Elevation matters because cold air pools in low areas, and a base built in a depression will be measurably colder than one on a rise. Look for natural windbreaks like rock formations or dense tree lines that reduce the wind chill penalty on one or two sides of your future base. Mark your site mentally or with a dropped item, then start gathering.
Step 2: Build a Windbreak and Foundation
On your first day, build a single wall segment or an L-shaped corner at your chosen site, then start laying a 3x3 wooden foundation in front of it. The windbreak gives you immediate protection while you work, and the foundation ensures that every structure you place afterward sits on a thermal break. If you run out of daylight, sleep against the windbreak with a campfire — it is not comfortable, but it will keep you alive.
Step 3: Raise Walls and a Door
Day two is wall day. Build all four walls of your 3x3 shelter, leaving one gap for a wooden door. Prioritize the wall facing the prevailing wind first, because that is the one that will cost you the most heat if it is missing overnight. Once the walls are up, install the door and test that it opens and closes cleanly — a jammed door in a blizzard is a death sentence.
Step 4: Roof and Heat Source
With walls sealed, your next priority is a sloped roof that sheds snow instead of collecting it. A flat roof accumulates weight and can collapse during heavy snowfall, while a sloped roof channels precipitation away from your walls. Once the roof is on, move your campfire inside and upgrade to a basic stove as soon as you have the scrap metal, because a stove burns fuel more efficiently and produces more consistent heat.
Step 5: Furnish and Fortify
Your final early-game step is furnishing the interior with a bedroll, a storage box, and a crafting station, then reinforcing your walls with scrap metal if you have any to spare. Reinforced walls have higher thermal resistance and better durability against storms, which means your stove works less hard to maintain interior temperature. At this point, your base is a genuine shelter, and you can start thinking about expansion rather than survival.
Advanced Permafrost Base Building: Insulation, Heating, and Blizzard Hardening
Once your basic shelter is standing, the next phase of permafrost base building is about efficiency — making your base warmer, safer, and cheaper to maintain. The single most impactful upgrade is wall insulation, which you can craft from cloth and wood scraps once you have a crafting station. Insulated walls reduce heat loss through the structure itself, which means your stove burns less fuel to maintain the same interior temperature. Over a week of survival, that fuel savings translates into hours of scavenging time you can spend on other priorities.
The second major upgrade is double-wall construction, where you build a second layer of walls outside your first with a small air gap between them. This creates a thermal buffer zone that dramatically slows heat transfer, and it is the closest thing Permafrost has to modern insulation. Double walls are expensive — they effectively double your wall material cost — but for a base you plan to occupy long-term, the investment pays for itself in reduced fuel consumption and better storm survival. Players who have tested both approaches report that a double-walled 3x3 room stays warm with roughly half the fuel of a single-walled equivalent.
| Upgrade | Material Cost | Heat Retention Gain | Build Priority | Notes |
|---|---|---|---|---|
| Insulated Walls | Cloth + wood per wall | Moderate | High | Cheap and effective; do this first |
| Double Walls | Full second wall layer | High | Medium | Expensive but transformative |
| Reinforced Door | Scrap metal + wood | Moderate | High | Also improves security |
| Stove Upgrade | Scrap metal + stone | High | High | Better fuel efficiency |
| Roof Insulation | Cloth + wood | Moderate | Medium | Prevents heat loss through ceiling |
| Thermal Curtains | Cloth | Low | Low | Minor gain; nice-to-have |
Blizzard hardening is the final layer of advanced permafrost base building, and it focuses on structural integrity rather than heat retention. During a whiteout, your base takes physical damage from wind and flying debris, and a wall that collapses mid-storm exposes you to lethal cold in seconds. Reinforce all exterior walls with scrap metal, check your roof for weak points after every major storm, and keep a repair kit stocked inside the base at all times. The permafrost heating guide goes deeper into stove placement, fuel types, and how to keep your interior above freezing during the worst weather the game can throw at you.
Permafrost Shelter Building for Co-op: Coordinating Construction with Your Partner
Permafrost supports online co-op, and permafrost shelter building takes on a different rhythm when two Rooks are working the same site. The biggest advantage of co-op is parallel construction — one player gathers materials while the other builds, which cuts your time-to-first-shelter roughly in half. The biggest risk is resource contention, where both players grab the same materials and neither has enough to finish a structure. Establish clear roles before you start: one player is the builder, responsible for placement and construction, while the other is the scavenger, responsible for keeping the builder supplied.
Co-op also changes your permafrost base design priorities, because two players generate more body heat but also consume more resources. A 3x3 shelter that feels cramped for one player is actively dangerous for two, because you will bump into each other, block doorways, and struggle to access storage during emergencies. Plan for a 4x4 or 3x5 footprint in co-op from the start, and build a second bedroll as soon as the walls are up. The extra space costs more materials, but it prevents the kind of chaotic bottleneck that gets both players killed when a blizzard hits and everyone needs to get inside fast.
| Co-op Role | Primary Responsibility | Key Skills | Common Failure |
|---|---|---|---|
| Builder | Structure placement, repair, upgrades | Spatial planning, material management | Building too small for two players |
| Scavenger | Material gathering, food, fuel | Route efficiency, carry capacity management | Hauling low-priority items |
| Defender | Storm watch, wildlife deterrence | Situational awareness, combat | Ignoring weather warnings |
| Quartermaster | Storage organization, crafting queue | Inventory management, recipe knowledge | Cluttering the base interior |
The quartermaster role is often overlooked in co-op permafrost base building, but it is the difference between a smooth operation and a base full of random junk. One player should own the storage system, organizing materials into labeled containers so the builder and scavenger never waste time searching for a specific item. A well-organized base lets the builder call out "need six wood" and have it in hand within seconds, while a disorganized base turns every construction project into a frustrating scavenger hunt. If you are playing solo, you are all four roles at once, which is why the organizational habits you build early pay off for the entire run.
Frequently Asked Questions
What is the first thing I should build in Permafrost?
The first structure you should build is a windbreak — a single wall or L-shaped corner placed between your campfire and the prevailing wind. It costs minimal materials and immediately reduces the wind chill penalty that kills most players on their first night. Build this before a foundation, because it protects you while you gather more resources.
How do I build a shelter in Permafrost step by step?
Start with a 3x3 wooden foundation, then raise four walls with a door gap, install a wooden door, and finish with a sloped roof. Move a campfire inside, upgrade to a stove when possible, and furnish with a bedroll and storage box. Follow this order exactly, because skipping the foundation or roof leaves you exposed to lethal cold.
What is the best base design for surviving blizzards?
A two-room split design with an airlock entry is the best early base design for blizzard survival. The airlock prevents heat loss when you enter or exit, while the two-room split lets you keep a small heated core separate from cold storage. Add insulated walls and a reinforced roof as soon as materials allow.
How much wood do I need for a basic shelter?
A basic 3x3 shelter with foundation, four walls, a door, and a sloped roof requires roughly 120 to 150 wood, depending on whether you reinforce any components. Gather more than you think you need, because construction mistakes and storm damage will consume your surplus. One efficient scavenging loop through a collapsed cabin cluster usually yields enough for the foundation and two walls.
Can I move my base after building it?
Yes, but moving a base is expensive and time-consuming, because you must dismantle every structure and haul the recovered materials to your new site. It is almost always better to scout carefully and build in the right location the first time. If you must relocate, prioritize moving your stove, bedroll, and storage contents before dismantling walls and foundations.