
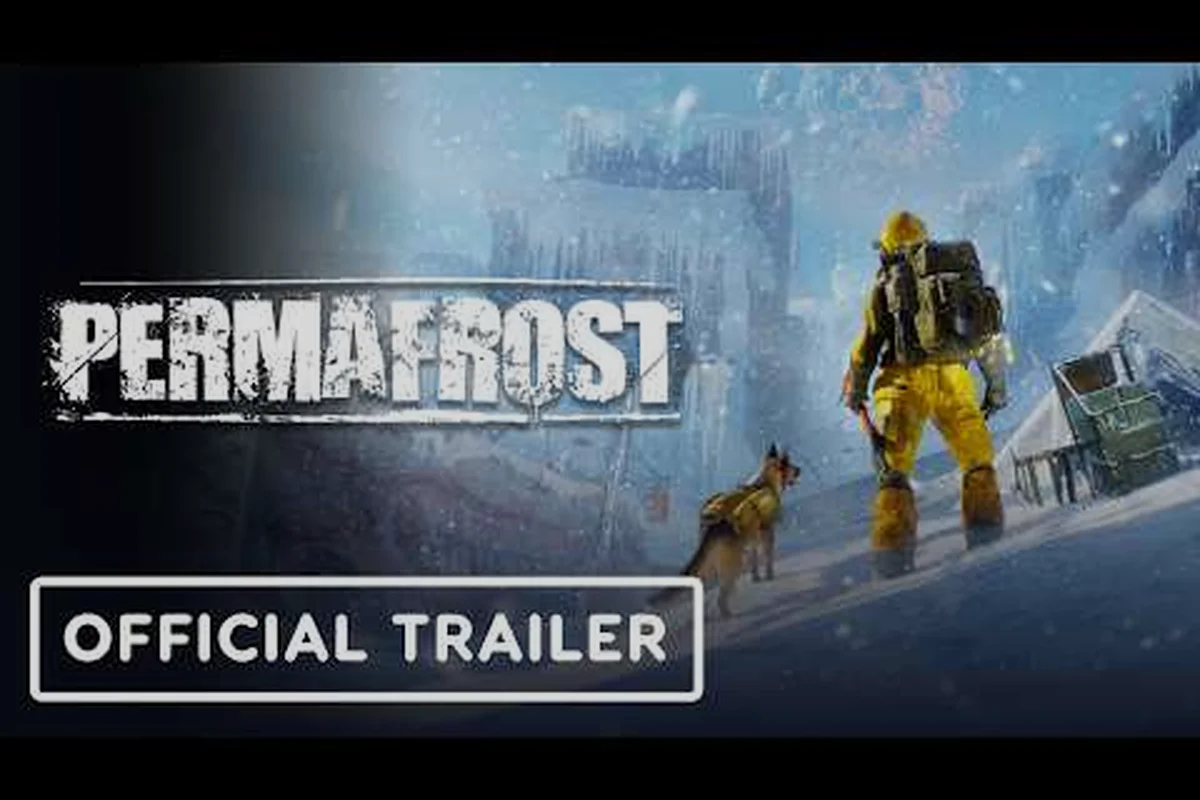
Getting the right start in Permafrost means understanding how its custom mode settings reshape the frozen wasteland before you ever step into the snow. This permafrost custom mode guide breaks down the differences between story and survival modes, explains every difficulty slider, and helps you build a playthrough that matches your tolerance for cold, hunger, and isolation. Whether you want a guided narrative or a brutal sandbox, the settings you pick in the first five minutes determine whether you thrive or freeze.
How Permafrost Custom Mode Works
Permafrost does not lock you into a single fixed experience. Instead, the game presents a custom mode screen after you choose your starting background, giving you direct control over resource scarcity, weather severity, wildlife aggression, and narrative hand-holding. According to the official Steam page, the game frames you as a Rook — an engineer with rebuilding skills but little wilderness experience — and the custom settings let you decide how much that inexperience should hurt.
The mode system splits into two broad presets: Story Mode and Survival Mode. Story Mode reduces the pressure from hunger, cold, and hostile wildlife so you can follow the radio signal narrative without constantly fighting the environment. Survival Mode removes most safety nets, forcing you to manage body temperature, calorie intake, and predator encounters as primary threats. The custom screen sits between them, allowing granular adjustments that neither preset offers on its own.
The most important thing to understand is that custom settings are not locked after character creation. You can revisit the difficulty menu from the pause screen during a run, though some community reports suggest that changing survival-related sliders mid-run may disable certain achievements. As of the 2026 Early Access build, this behavior appears consistent across both modes, but exact achievement flags may shift with future patches.
| Setting Category | Story Mode Default | Survival Mode Default | Custom Range |
|---|---|---|---|
| Cold Damage Rate | Low | High | Very Low to Extreme |
| Hunger Drain | Slow | Fast | Very Slow to Extreme |
| Wildlife Aggression | Passive | Aggressive | Passive to Lethal |
| Resource Density | Abundant | Scarce | Very Scarce to Abundant |
| Quest Markers | Always On | Minimal | Off to Always On |
Understanding the Preset Philosophy
The two presets are not simply easy and hard versions of the same game. Story Mode prioritizes forward momentum, keeping you moving toward objectives without forcing you to spend hours gathering firewood or hunting scarce prey. Survival Mode treats the environment itself as the primary antagonist, which means every trip away from shelter becomes a calculated risk. The custom mode exists because the developers at SpaceRocket Games clearly understand that survival players have wildly different pain thresholds.
If you are coming from other survival sandboxes, the Permafrost beginner guide covers the core loop of scavenging, crafting, and shelter-building that both presets share. The custom settings layer on top of that loop, so understanding the base mechanics first makes the sliders far less intimidating.
Permafrost Story vs Survival Mode: Core Differences
The gap between story and survival goes deeper than difficulty numbers. In Story Mode, the game reduces the frequency of blizzards, keeps wildlife encounters rare and avoidable, and places more loot in obvious locations. This lets you engage with the radio signal mystery and the search for your long-lost friend without spending half your session huddled next to a fire. The narrative pacing feels closer to a traditional adventure game with survival elements layered on top.
Survival Mode flips that balance. Blizzards arrive more often and last longer, predators stalk you across longer distances, and every calorie matters. The game still contains the same story content, but you will experience it in fragments between desperate supply runs and emergency shelter construction. Players who enjoy games like The Long Dark will recognize the rhythm immediately, though Permafrost adds more crafting depth and a stronger narrative thread.
| Aspect | Story Mode | Survival Mode |
|---|---|---|
| Narrative Focus | Primary | Secondary |
| Environmental Threat | Moderate | Severe |
| Resource Management | Light | Heavy |
| Combat Frequency | Low | High |
| Death Penalty | Minor | Significant |
| Best For | First playthrough, lore hunters | Veterans, challenge seekers |
When to Choose Each Preset
Choose Story Mode if you want to see the full narrative arc without restarting twenty times. The reduced environmental pressure means you can afford to make mistakes while learning the crafting system, and the always-on quest markers prevent the frustration of wandering in circles during whiteout conditions. This preset also works well for players with limited gaming sessions who cannot afford to lose an hour of progress to a single bad decision.
Choose Survival Mode if you have already completed the story once or if you specifically want the environment to be the main challenge. The scarcity forces creative problem-solving, and the aggressive wildlife turns every hunting trip into a tense encounter. The permafrost common mistakes guide highlights several errors that become fatal in Survival Mode but are merely inconvenient in Story Mode, which is worth reviewing before you commit to the harsher preset.
Permafrost Difficulty Settings: Every Slider Explained
The custom mode screen presents seven core sliders, each affecting a different survival subsystem. Understanding what each slider actually changes prevents the common mistake of cranking everything to maximum and creating an unplayable nightmare. The sliders are independent, so you can create a hybrid experience that is brutally cold but resource-rich, or warm but predator-infested.
Cold Damage Rate controls how quickly your body temperature drops and how much health you lose when it reaches zero. At Very Low, you can survive short outdoor trips in basic clothing. At Extreme, even brief exposure without proper insulation becomes dangerous. This slider has the largest impact on early-game difficulty because starting gear provides minimal warmth.
Hunger Drain determines how quickly your calorie reserves deplete. Higher settings force you to hunt and scavenge constantly, while lower settings let you focus on exploration and story progression. The Wildlife Aggression slider changes predator behavior from passive avoidance to active hunting, which dramatically alters how you approach open areas.
| Slider | What It Changes | Recommended Starting Value |
|---|---|---|
| Cold Damage Rate | Temperature loss speed, health damage from freezing | Medium |
| Hunger Drain | Calorie depletion rate | Medium |
| Thirst Drain | Water depletion rate | Medium |
| Wildlife Aggression | Predator detection range and attack frequency | Low to Medium |
| Resource Density | Loot spawn frequency and quantity | Medium to High |
| Blizzard Frequency | How often severe weather events occur | Medium |
| Quest Guidance | Marker visibility and objective hints | High for first run |
Building a Balanced Custom Profile
The best custom profiles treat difficulty as a curve rather than a flat line. Start with Resource Density at High and Quest Guidance at High so you can learn the map and mechanics without constant frustration. Then set Cold Damage Rate and Hunger Drain to Medium so the survival systems still matter. Finally, keep Wildlife Aggression at Low until you have crafted a reliable weapon and learned predator patrol patterns.
This approach creates a run where you always have something to do but are never punished unfairly for exploring. If you find the mid-game too easy, you can raise individual sliders from the pause menu. The Permafrost running skill guide explains how your starting background affects movement and stamina, which interacts directly with how punishing the cold and hunger sliders feel in practice.
Permafrost Complete Guide: Recommended Setups for Every Playstyle
Different players want different things from Permafrost, and the custom mode system accommodates nearly all of them. The setups below represent tested configurations based on community feedback and Early Access testing as of October 2026. Each profile targets a specific experience, so you can pick the one that matches your goals and adjust from there.
The Narrative Explorer prioritizes story progression and map discovery. Set Cold Damage Rate to Low, Hunger Drain to Slow, Resource Density to Abundant, Wildlife Aggression to Passive, and Quest Guidance to Always On. This profile lets you focus on the radio signal mystery and character interactions without survival mechanics interrupting every scene. The trade-off is reduced tension, which some players find makes the frozen world feel less threatening than intended.
The Balanced Survivor aims for the intended Permafrost experience. Set all core sliders to Medium, keep Resource Density at Medium, and set Wildlife Aggression to Medium. This creates a run where every system matters but none dominates. You will need to manage temperature, food, and water consistently, but the game never feels unfair. This is the best starting point for most players.
| Profile Name | Cold | Hunger | Wildlife | Resources | Quest Guidance | Difficulty Feel |
|---|---|---|---|---|---|---|
| Narrative Explorer | Low | Slow | Passive | Abundant | Always On | Easy |
| Balanced Survivor | Medium | Medium | Medium | Medium | High | Standard |
| Hardened Veteran | High | Fast | Aggressive | Scarce | Minimal | Hard |
| Whiteout Nightmare | Extreme | Extreme | Lethal | Very Scarce | Off | Brutal |
Fine-Tuning for Specific Goals
If you want to focus on base building and crafting, raise Resource Density and lower Wildlife Aggression so you can gather materials without constant interruptions. If you want combat to be the main challenge, raise Wildlife Aggression to Aggressive while keeping cold and hunger at Medium. The sliders are tools for sculpting the exact experience you want, not difficulty gates you must overcome.
The Permafrost vs The Long Dark comparison examines how these settings compare to other survival games in the genre, which helps if you are trying to recreate a specific feel from another title. Permafrost's custom mode is more granular than most competitors, which is a significant advantage for players who know exactly what they want.
Permafrost Everything You Need to Know: Advanced Custom Mode Tips
Beyond the basic sliders, several hidden interactions affect how your custom settings play out in practice. Understanding these interactions separates players who merely survive from those who thrive. The most important hidden factor is that difficulty settings affect loot tables, not just spawn rates. Higher Resource Density settings not only place more items in the world but also unlock better-quality gear earlier in the run.
Blizzard Frequency interacts with the cold damage slider in ways that are not immediately obvious. A high Blizzard Frequency with low Cold Damage Rate still forces you indoors frequently, which slows progression even if the cold itself is not lethal. Conversely, low Blizzard Frequency with extreme Cold Damage Rate means every outdoor trip is dangerous but the weather rarely forces you to stop. The combination you choose matters more than any individual slider.
Another advanced consideration is that Wildlife Aggression affects not just predators but also prey animals. At higher aggression settings, deer and rabbits flee more quickly, making hunting more difficult even before you factor in the increased predator threat. This means raising Wildlife Aggression for a combat challenge also indirectly increases the hunger challenge by making food harder to obtain.
| Slider Combination | Hidden Effect | Player Impact |
|---|---|---|
| High Resources + Low Cold | Better loot tables, easy exploration | Fast progression, low tension |
| High Blizzards + Low Cold | Frequent forced downtime | Slow but safe progression |
| High Aggression + High Hunger | Prey flees faster, predators hunt harder | Double food pressure |
| Low Resources + High Cold | Scarce loot, lethal exposure | Maximum early-game difficulty |
Adjusting Settings Mid-Run
Permafrost allows you to modify most custom settings from the pause menu during an active run, but the game does not advertise this feature clearly. Changing Resource Density mid-run does not retroactively add loot to areas you have already visited, so lowering it after looting a region has no penalty. However, raising Wildlife Aggression mid-run takes effect immediately, which can create dangerous situations if you are far from shelter when you make the change.
Community reports suggest that some achievements require maintaining specific difficulty settings for an entire run. If achievement hunting matters to you, set your sliders before starting and avoid mid-run changes. The Permafrost side quests guide covers optional objectives that become significantly harder or easier depending on your difficulty configuration, which is worth considering before you lock in your settings.
Frequently Asked Questions
What is the best difficulty setting for a first Permafrost playthrough?
Start with the Balanced Survivor profile: all core sliders at Medium, Resource Density at Medium, and Quest Guidance at High. This configuration teaches every survival system without overwhelming you, and you can adjust individual sliders later once you understand which mechanics feel too punishing or too lenient.
Can I change my custom mode settings after starting a run?
Yes, most sliders are accessible from the pause menu during an active run. However, changing survival-related sliders mid-run may disable certain achievements, and some changes like Wildlife Aggression take effect immediately. Set your core configuration before starting if achievement hunting matters to you.
Does Story Mode remove all survival mechanics?
No, Story Mode reduces but does not eliminate survival pressure. You still need to manage temperature, hunger, and thirst, but the rates are slower and resources are more abundant. The mode shifts focus toward narrative progression rather than removing the survival systems entirely.
How does custom mode affect the story content?
The story content remains identical across all difficulty settings. Custom mode only changes the survival layer around that story, so you can experience the full narrative on any configuration. Higher difficulties simply insert more environmental obstacles between story beats.
What is the hardest possible Permafrost setup?
The Whiteout Nightmare profile combines Extreme Cold Damage Rate, Extreme Hunger Drain, Lethal Wildlife Aggression, Very Scarce Resources, and Off Quest Guidance. This configuration demands perfect resource management and map knowledge, and even experienced players report frequent deaths during the first few in-game days.