
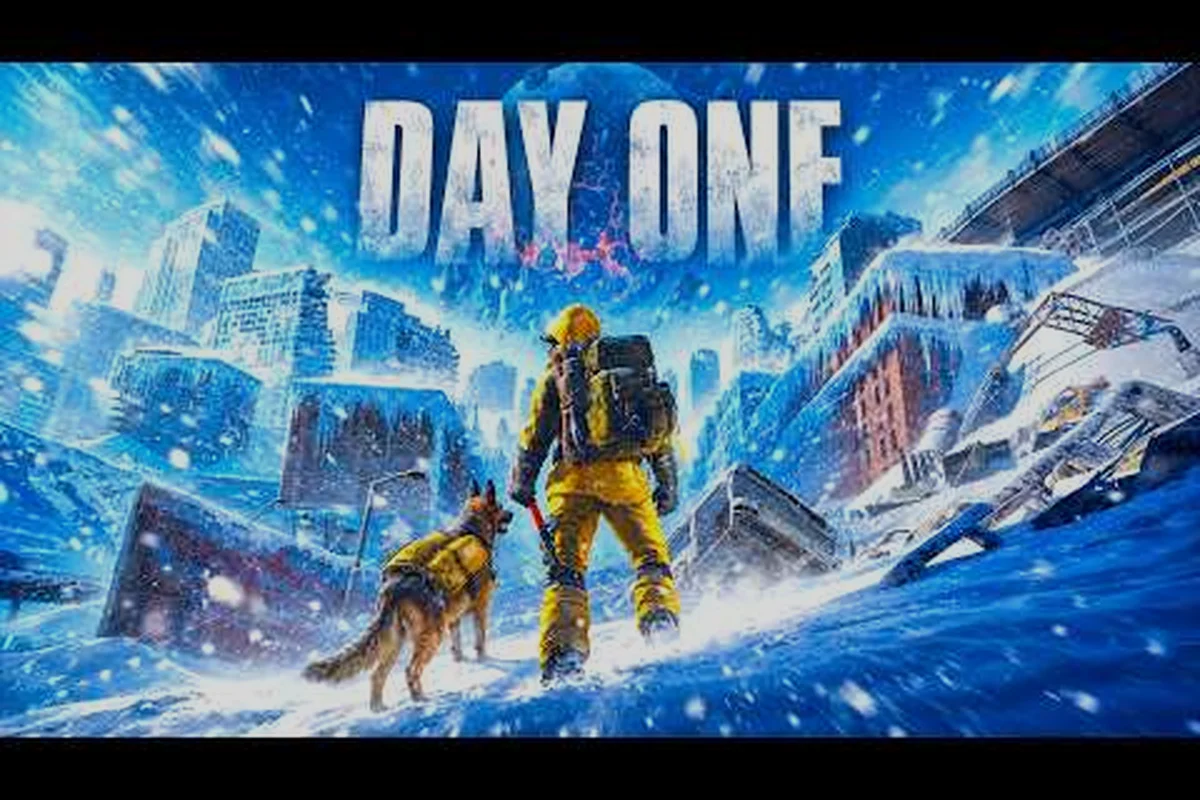
Understanding the permafrost map guide matters because the frozen open world punishes blind wandering with hypothermia, starvation, and wasted daylight. Every biome hides different resources, threats, and temperature thresholds that determine whether you survive the next hour or freeze before reaching shelter. This guide breaks down the entire map into navigable zones so you can plan routes, prioritize looting targets, and avoid the deadliest cold zones until you have proper gear.
Permafrost Open World Map Overview
The permafrost open world map is a vast, interconnected frozen landscape shaped by the cataclysm that locked Earth in endless winter. According to the official Steam page, you play as a Rook, an engineer with rebuilding skills but little wilderness experience, pulled into this brutal, unforgiving landscape after tracing a transmission from a friend who vanished years before. The map reflects that tension between industrial remnants and raw frozen wilderness, which means you will constantly move between abandoned infrastructure and exposed ice fields.
The map divides into several distinct regions, each with its own temperature profile, resource density, and threat level. Community reports indicate that early zones cluster around relatively sheltered valleys and ruined settlements, while deeper regions push into open tundra, buried forests, and high-altitude cold zones where the temperature drops sharply. Because the game uses a grounded survival model rather than a level-gated progression system, you can technically walk anywhere from the start, but the cold itself acts as a soft gate that punishes underprepared explorers.
| Map Region | Temperature Profile | Primary Resources | Main Threats |
|---|---|---|---|
| Ruined Settlements | Moderate cold | Scrap metal, tools, canned food | Wolves, exposure |
| Frozen Valleys | Cold | Wood, fiber, small game | Wind chill, predators |
| Buried Forests | Very cold | Timber, rare plants, hides | Deep snow, low visibility |
| Open Tundra | Severe cold | Minerals, salvage, caches | Blizzards, disorientation |
| High-Altitude Zones | Extreme cold | Rare tech, story landmarks | Frostbite, exhaustion |
The map does not hand you a full reveal at the start. Instead, you uncover landmarks and points of interest by physically reaching them, which makes early exploration a balance between pushing into unknown territory and retreating to known shelter. Players report that the first few hours feel disorienting because snowstorms reduce visibility and landmarks blur together under uniform white cover, so learning to read terrain features becomes essential before you can navigate confidently.
Permafrost All Biomes Breakdown
The permafrost all biomes system is more nuanced than a simple "snow everywhere" design. Each biome carries distinct visual signatures, resource tables, and survival pressures that change how you approach traversal and looting. Understanding these differences transforms the map from a hostile blur into a readable set of zones where you can predict what you will find and what will try to kill you.
The Frozen Valley biome serves as the early-game breadbasket because it offers relatively accessible wood, fiber, and small game while keeping temperatures survivable with basic clothing. However, the valley's wind channels can create sudden cold snaps that catch new players off guard, especially at night when temperatures drop further. The Buried Forest biome presents a different challenge: dense snow-covered trees provide excellent shelter from wind but reduce visibility so severely that predators can ambush from close range.
| Biome | Visual Signature | Key Resources | Survival Challenge |
|---|---|---|---|
| Frozen Valley | Open snowfields with exposed rock | Wood, fiber, small game | Wind chill spikes |
| Buried Forest | Dense snow-laden trees | Timber, rare plants, hides | Low visibility ambushes |
| Open Tundra | Flat, featureless ice plains | Minerals, salvage, caches | Blizzard disorientation |
| Ruined City | Collapsed buildings, frozen streets | Scrap, electronics, tools | Structural hazards, looters |
| Glacial Ridge | Ice formations, crevasses | Rare tech, story items | Extreme cold, falls |
The Open Tundra biome is where the permafrost open world map shows its most punishing side. Featureless terrain means you lose visual reference points quickly, and blizzards can erase your tracks within minutes. Players who push into the tundra without a compass, map markers, or a clear landmark bearing frequently report walking in circles until exhaustion sets in. The Ruined City biome offers the richest looting density but also concentrates threats, including unstable structures that can collapse and hostile survivors competing for the same salvage.
Permafrost Locations Guide for Key Landmarks
A practical permafrost locations guide starts with identifying landmarks that anchor your navigation. The map scatters story-related locations, resource hubs, and shelter points across all biomes, but some stand out as critical waypoints that every explorer should learn early. These locations serve as reference points for triangulating your position when visibility drops or when you need to plan a multi-day expedition.
The Radio Outpost near the starting area functions as your first reliable shelter and story anchor. From there, players typically push toward the Collapsed Bridge, which blocks the most direct route to the northern biomes and forces a detour through either the Buried Forest or a dangerous ice crossing. The Geothermal Vent Field in the eastern valley provides a rare source of warmth that lets you recover body temperature without burning fuel, making it a critical rest point for longer expeditions.
| Landmark | Biome | Function | Risk Level |
|---|---|---|---|
| Radio Outpost | Ruined Settlement | Starting shelter, story anchor | Low |
| Collapsed Bridge | Frozen Valley | Route blocker, salvage site | Medium |
| Geothermal Vent Field | Frozen Valley | Warmth recovery, rest point | Low |
| Sunken Research Station | Buried Forest | Rare tech, story clues | High |
| Abandoned Mining Camp | Open Tundra | Minerals, shelter, caches | High |
| Glacial Observatory | Glacial Ridge | Endgame story, rare loot | Extreme |
The Sunken Research Station is one of the most valuable locations in the permafrost locations guide because it contains rare technology and story clues that unlock crafting recipes and map markers. However, reaching it requires navigating the Buried Forest's low-visibility terrain while managing cold buildup, which makes it a mid-game objective rather than an early rush target. The Abandoned Mining Camp in the Open Tundra offers substantial mineral deposits and pre-built shelter, but the surrounding tundra's disorientation risk means you should only attempt it with clear weather and a full supply of navigation tools.
Permafrost Best Locations to Loot
The permafrost best locations to loot combine high resource density with manageable risk, because a rich loot spot that kills you on the way out is worthless. Early-game looting should focus on locations that provide immediate survival value: food, fuel, clothing, and basic tools. As you upgrade your gear and learn the map, you can push into higher-risk zones that offer rare technology, advanced materials, and story-critical items.
The Ruined City biome consistently ranks as the highest-density looting zone because collapsed buildings concentrate scrap, electronics, and tools in small areas. However, the density also attracts hostile survivors and creates structural hazards that can injure or trap you. Players report that looting the city's perimeter buildings first, then working inward as you clear threats, yields better survival rates than rushing the central districts.
| Loot Location | Primary Loot | Secondary Loot | Recommended Gear Level |
|---|---|---|---|
| Perimeter Ruins | Scrap, basic tools | Canned food, cloth | Basic clothing |
| City Center | Electronics, rare parts | Weapons, fuel | Insulated clothing |
| Mining Camp | Minerals, ore | Tools, shelter supplies | Cold-resistant gear |
| Research Station | Rare tech, blueprints | Medical supplies | Full cold kit |
| Glacial Observatory | Endgame tech, story items | High-tier gear | Best-in-slot gear |
The Mining Camp stands out among permafrost best locations to loot because it offers both immediate resources and a defensible shelter, which lets you extend expeditions into the tundra without retreating to distant safe zones. The permafrost looting guide covers specific loot tables and container locations in more detail, but the core principle remains consistent: match your looting targets to your current gear level and weather window.
Permafrost Cold Zones and Survival Strategy
The permafrost cold zones represent the game's most dangerous environments, where temperature drops below what basic clothing can handle and exposure kills in minutes rather than hours. These zones gate the best loot and story progression behind a survival check that forces you to prepare properly before entering. Understanding how cold zones work mechanically is essential for planning any expedition into the map's harsher regions.
Cold zones operate on a body temperature system that drains based on ambient temperature, wind chill, and your clothing's insulation rating. When your temperature drops too low, you begin accumulating frostbite and hypothermia penalties that reduce movement speed, impair vision, and eventually kill you. The permafrost region guide explains how to access high-tier cold zones and what gear checks you need to pass, but the fundamental rule is simple: never enter a cold zone without a heat source and a retreat plan.
| Cold Zone | Temperature Severity | Minimum Gear | Survival Window Without Heat |
|---|---|---|---|
| Frozen Valley (night) | Moderate | Basic clothing | 10-15 minutes |
| Buried Forest (deep) | High | Insulated clothing | 5-8 minutes |
| Open Tundra | Severe | Cold-resistant gear | 3-5 minutes |
| Glacial Ridge | Extreme | Best-in-slot gear | 1-2 minutes |
The Glacial Ridge represents the ultimate permafrost cold zone guide challenge because its extreme temperatures and treacherous terrain demand complete preparation. Players who reach the ridge report that even with top-tier gear, you must move between heat sources constantly and plan every route segment around shelter points. The Open Tundra is deceptively dangerous because its flat terrain looks manageable, but the combination of severe cold and disorientation risk means many players freeze while walking in circles trying to find their way back.
Frequently Asked Questions
What is the best starting area on the permafrost map?
The Frozen Valley is the best starting area because it offers accessible wood, fiber, and small game while keeping temperatures survivable with basic clothing. The Radio Outpost provides your first reliable shelter and story anchor, making it the natural hub for early exploration before you push into harsher biomes.
How do I navigate the permafrost open world map without getting lost?
Use landmarks like the Collapsed Bridge, Geothermal Vent Field, and Radio Outpost as reference points, and always carry a compass or map markers. Blizzards in the Open Tundra erase tracks quickly, so players should establish clear bearing lines between known locations before venturing into featureless terrain.
Which cold zones should I avoid early in the game?
Avoid the Open Tundra and Glacial Ridge until you have cold-resistant gear and a full survival kit. The Buried Forest deep areas are also dangerous for new players because low visibility makes predator ambushes likely, even when temperatures are manageable with insulated clothing.
What is the best location to loot for rare technology?
The Sunken Research Station in the Buried Forest offers rare technology and blueprints that unlock crafting recipes and map markers. The Glacial Observatory provides endgame tech but requires best-in-slot gear and careful route planning through the most extreme cold zones on the map.
How does the cold zone temperature system work?
Cold zones drain your body temperature based on ambient temperature, wind chill, and clothing insulation rating. When temperature drops too low, you accumulate frostbite and hypothermia penalties that reduce movement speed and impair vision, eventually killing you if you cannot find warmth or shelter in time.